From Lightroom to Instagram – a short note

A Plugin I used to use in Lightroom Classic has ceased working due to changes in the way the Instagram API works. Now I’m not overly keen to get back involved in using Instagram (Facebook connections, etc.) but I recognise that I should at least know how to easily get images out of Lightroom Classic after post-processing, and into Instagram. Hence, a little research was undertaken.

The solution is remarkably easy if you’ve subscribed to Adobe’s Creative Cloud Photography Plan – which gives you Lightroom Classic (desktop editing), Lightroom (the cloud-based version which runs on mobile devices) and Photoshop, as well as 20Gb of cloud storage – and a Mobile device (eg iPad or iPhone) that you can run the Lightroom app on.

This post builds upon two other posts I found and combines them.

How to Post Photos to Instagram From Lightroom Classic Using the Lightroom for Mobile app and How to Export Photos for Instagram from Lightroom Classic CC (2018).

Here’s what you do:

  1. You create a Collection in Lightroom Classic of the images that you intend to send to Instagram …
  2. You will see the Collection has been created and that it will be sync’d to Lightroom when you see the two-way arrow highlighted in the box to the left of the Collection name …
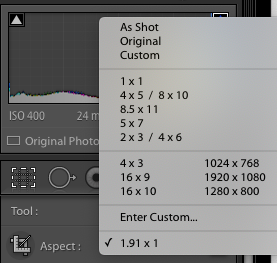
  3. You then do whatever edits you want to do to the image and drag it to the Collection when you’re ready. You might wish to crop the image appropriately for Instagram; this you can do in the Develop module > Crop & Straighten by choosing one of the preferred Instagram dimensions – Square (1 x 1); Portrait (4 x 5) or Landscape (1.91 x 1) which you will have to add as a Custom Aspect Ratio, eg …
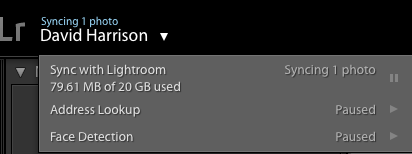
  4. You then are ready to Sync your Collection(s) with Lightroom (this will happen automatically if it’s switched on, as below) otherwise you’ll have to click on the Paused arrow icon to start it) …
  5. You are now ready to switch to Lightroom on your mobile device. You should see the image you’ve sync’d …
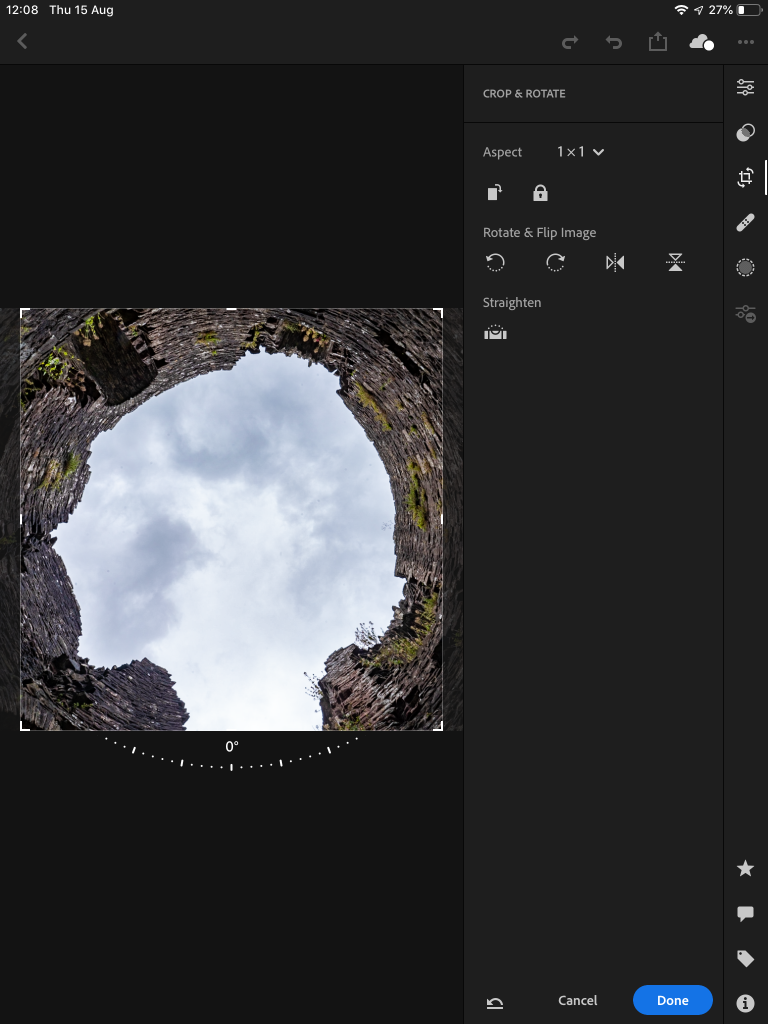
  6. … and you have another chance here to crop the image to an Instagram size before you select the Open In option from the Share menu [NB Any changes you make here will be sync’d back to Lightroom Classic]. You will be offered a choice for re-sizing and should choose Small – 2048px …
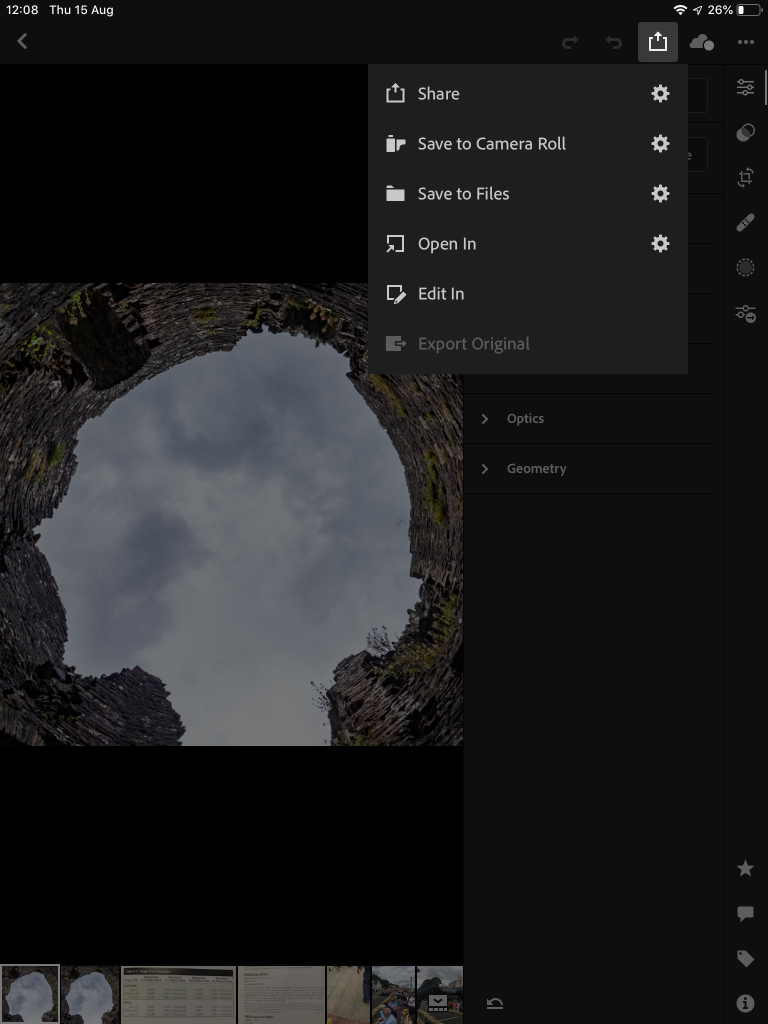
  7. … and select “Copy to Instagram” from the range of Options you are offered (NB You might need to Add this option to the list provided) …
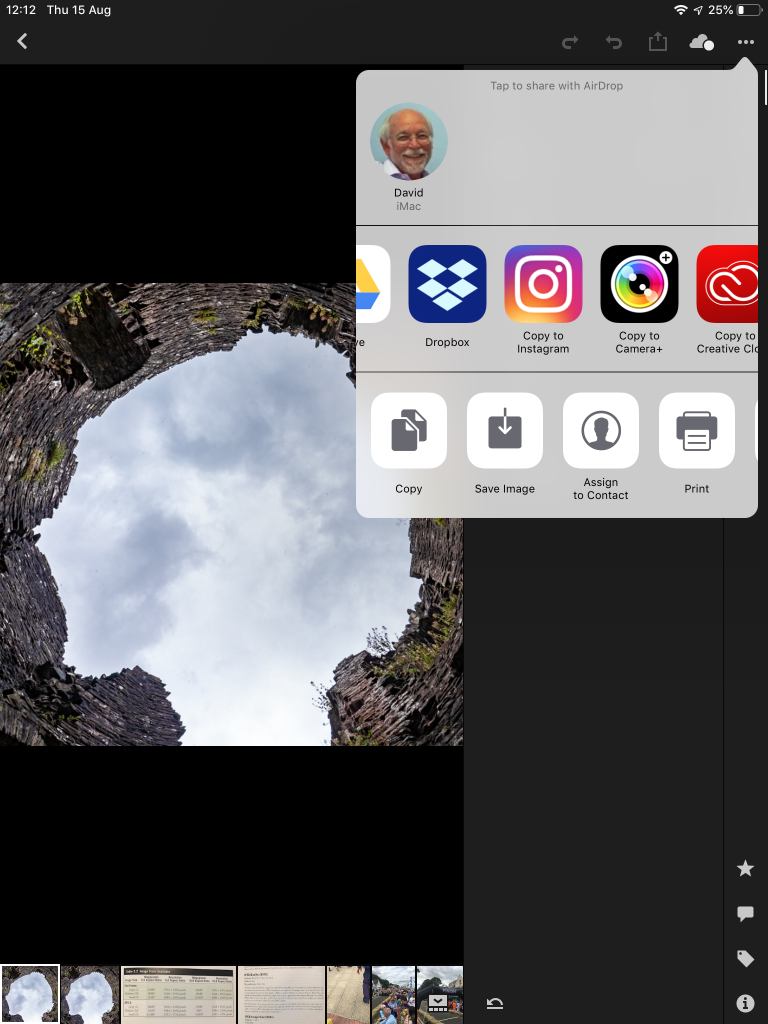
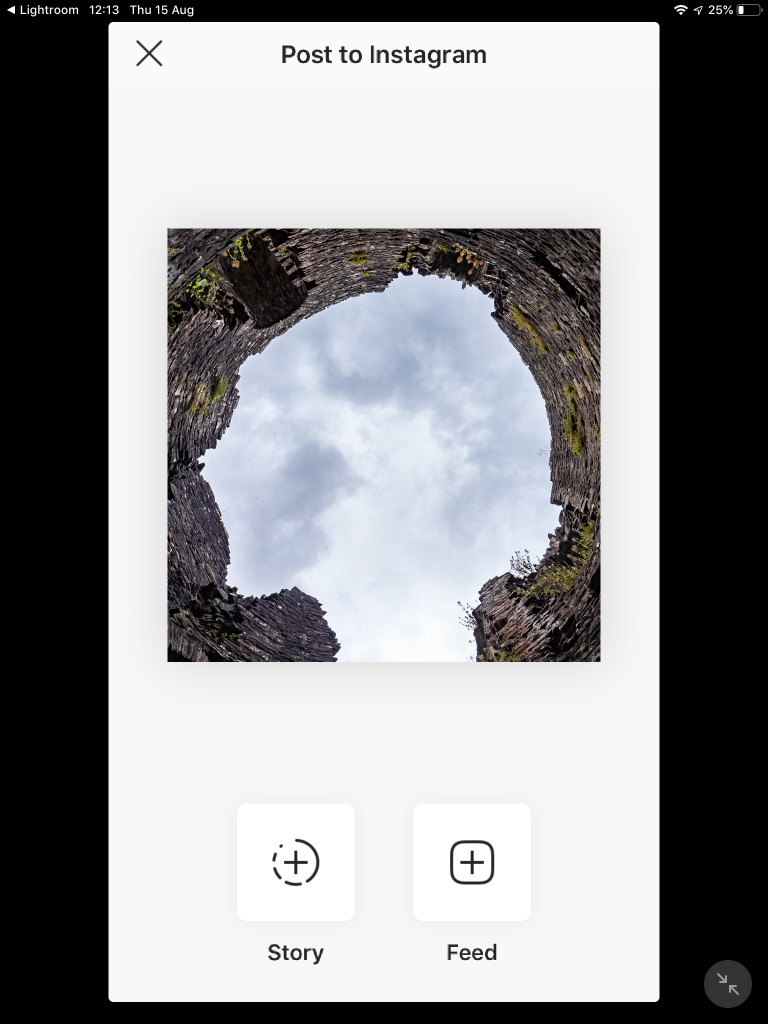
  8. … and then this window will open …
  9. … which for most Instagram posting purposes you will select “Feed” …
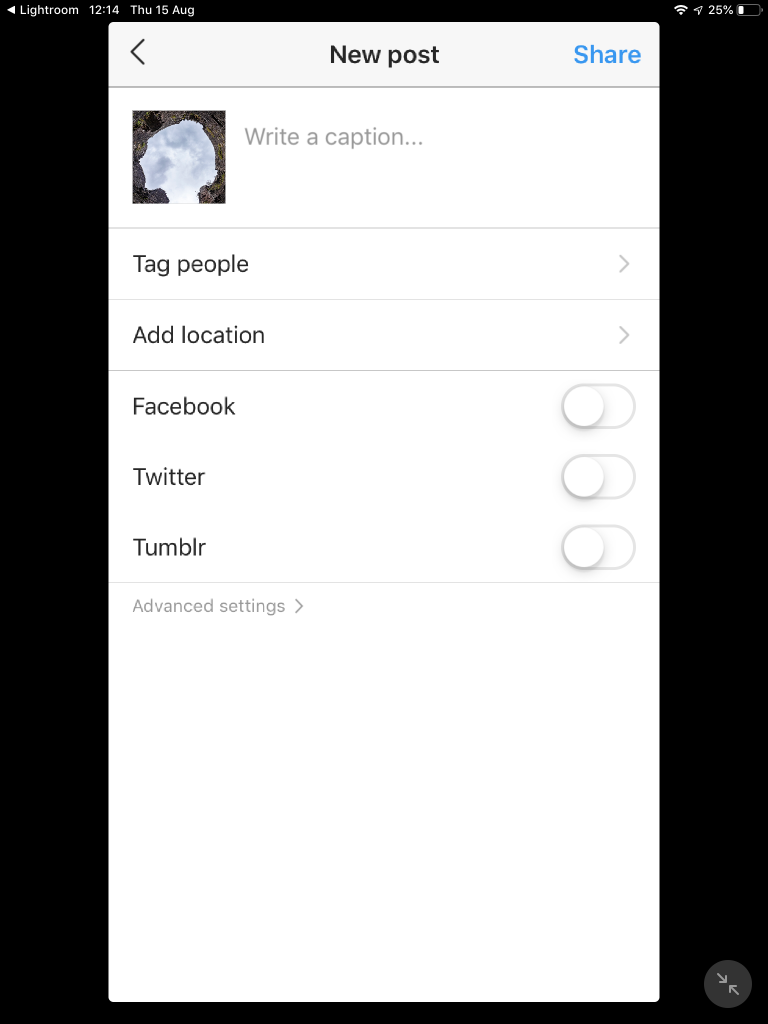
  10. … which will allow you to Caption your post, add tags, etc …
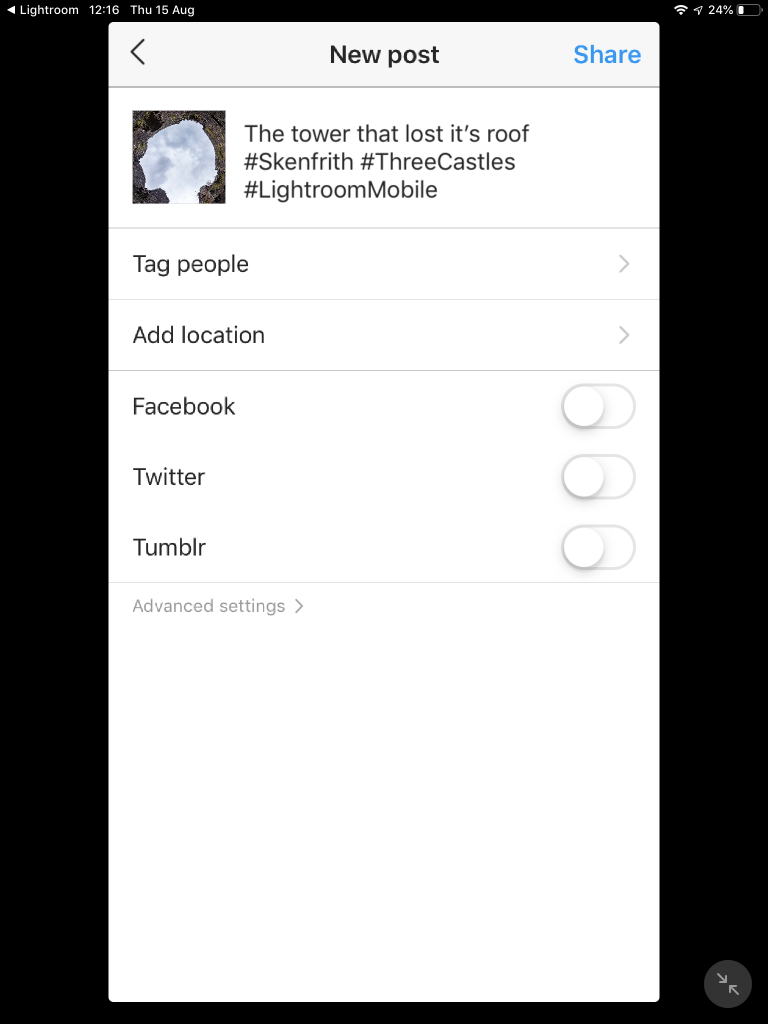
  11. … as well as letting you add additional information to your Instagram post and publicise it on Twitter etc., before clicking on Share …
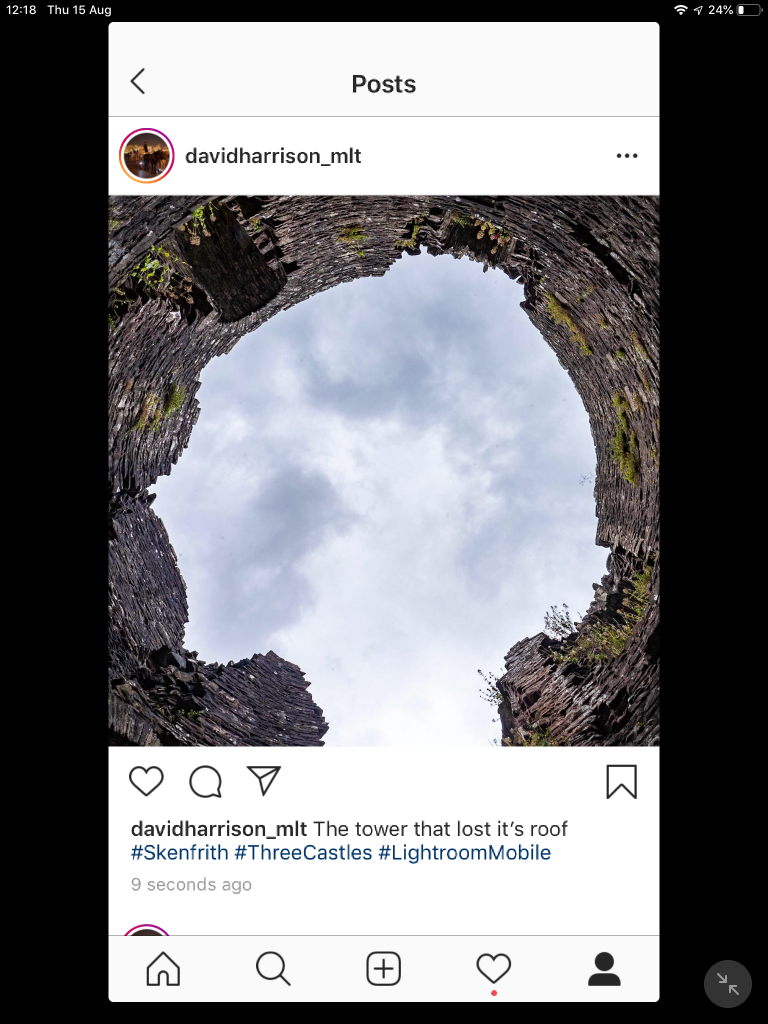
  12. … which should create the post as above.

And that’s it. Note also that any changes you make to the image in Lightroom after posting will NOT be reflected in a change in the Instagram post … it’s not a Lightroom Publish Service.


Reviewing Backup for my Photos

[UPDATE: After reading this, go to the bottom of the post to discover that this was really one of the worst decisions I’ve ever made. I’ve reviewed what I’m doing and have reverted to using more hard disk storage and storing it off-site. I’ve cancelled my additional storage with Google Drive. I may re-visit this in the future to use Adobe Cloud Storage if I move to using Lightroom CC more.]

It’s always good to stop, think, review and possibly change the way you do things. I’ve always been reasonably confident about my backup strategy for my photographs, but a trip away last weekend without my external hard disk which is my working storage for my images, as well as carrying the Lightroom catalogs got me to thinking.

As long as the hard disk is not sitting under the desktop computer and is away from that computer and the Time Machine backup disc that sits behind the computer – happy days. In the worst case scenario I would not only have my working disc to get started on as soon as I needed it, but I’d also have the Time Machine to restore from. Seemed OK – especially since I’d set Lightroom to copy imported photos to a Google Drive folder, and likewise I’d set Lightroom to backup the catalog to another Google Drive folder on exit. With the Google Drive folders being sync’d to the Cloud – I felt reasonably “safe”.

I’d also created a bullet-proof annual off-site backup of the external hard disk with a neighbour, so that once a year I would swap the disks around and be reasonably confident of an easy restore from the Time Machine backup of the external hard disk – happy days (hopefully) … or so I thought.

The weekend away however – without that working external SSD hard disk got me to thinking, and caused me to quickly review cloud storage options. I read this excellent article and that gave me some useful leads, and insights and made me consider using an external cloud service, but I already had – Adobe Photography Plan, Dropbox, iCloud, oneDrive and Google Drive, and I could consider shipping everything off to my web-hosting site as well – so did I really need/want another option?

I decided to go with what I knew and to reconfigure how I used Google Drive with Backup and Sync. Put simply, (1 -> to the cloud) I’m now using My Computer with just one Folder (actually the entire external hard disk) to create a backup of that disk on an increased subscription (£79.99pa for 1Tb) Google Drive; and (2 <- from the cloud) I’ve cleaned-up my existing Google Drive content in the Cloud to that which I actually want access to, or to give others access to – shipping content elsewhere on my hard-disk. I’ve left the “Photo and video upload size” as High Quality (not original quality) as that higher resolution and chargeable storage will be covered anyway by the fact that the images are being treated as files, not images in the Backup and Sync of the external hard disk; and I’ve unchecked “Upload newly added photos and videos to Google Photos” as I will only be doing that from my Phone, not from the computer.

The initial Backup and Sync, will take a long time I know, but then subsequently on a daily-use basis I won’t need to do a second copy of the Imported Images to Lightroom as that will be handled by the Backup and Sync of the external hard disk where the images will then be. So … I can rest assured that I have Backup copies of all my images, and the Lightroom catalogs that record the changes/edits I make to them – really happy days! Let me re-iterate – this is not so that I can edit them anywhere, it’s to be on the safe side in case of catastrophic loss – it’s a backup strategy, not part of an editing workflow for Lightroom, or anything else.

Why did I choose Google over the other options? Cost, integration of existing practices, speed of upload, familiarity.

This approach to backup also highlights the value of Lightroom as a non-destructive photo editor. Once imported, the images never change; it’s the catalog that changes and that will still be backed up to Google Drive separately when I exit the program so nothing should ever be lost! Sync’s after the initial one will generally be quite fast.

What I will have to remember however is NOT to shutdown the computer whilst Backup and Sync is running – so I better just stop writing and go and have a cup of tea!

=====================

So, five days later and Backup and Sync hasn’t finished yet! The idea of backing-up to the Cloud wasn’t necessarily a bad idea but the execution and scope was really not great thinking. If I’d confined the Backup to just the current year’s images that would probably have been OK, but I’d already decided against having different annual Lightroom catalogs, so the die was cast … I had to copy all the images. Now, all I can do is wait until it finishes.

I also know that there was a huge gap in my thinking in backing-up from the external USB-attached SSD. The disk access was potentially fast, but the USB slowed things down. Given my strategy (which I’m happy with) for storing Catalog and Images on an external SSD, backing-up to the Cloud from it was just plain daft as I’d inserted another step in the process. Backing-up from the computer’s internal SSD would have been much faster, but I couldn’t then have used Backup and Sync for continued Backup of the external SSD.

Then there’s the question of whether using Backup and Sync was the best way of doing the initial Backup. Perhaps, just perhaps (I’m not going to test it) it might have been better (faster) to do a Folder Upload from My Drive on Google Drive. I’ll never know!

Anyway, documenting one’s failings is as good as any way I know of learning, and my goodness have I learnt a few things about Cloud Backup and Google Drive!