External Hard Disks for Photographers

I described my Workflow at the first session of a Lightroom course I led yesterday. An instrumental and very important part of that workflow is holding my Images and Catalog(s) on an external hard disk. In the long term (after and hopefully Adobe implements it in Lightroom) it might enable photographers with a tablet (which has a USB-C port that supports a sufficient USB file transfer speed) to use an external hard disk whilst travelling with a tablet, to enable later editing on the desktop or laptop when back at home. A use-case I’ve tested, but found to have flaws currently. A few provisos there then, but let’s just keep our fingers crossed and hope for the best – then I might just be tempted to buy an iPad Pro.

For starters, here’s an article you might wish to look at to get you “in the mood” when considering external hard drives for your computer.

It’s important to know the ports you have on the machine(s) you might want to connect the disk to; it could be that Thunderbolt is not of interest to you but USB-C might well be. [Note: Currently Thunderbolt 3 delivered over USB-C will be the gold standard for Mac users.] Otherwise there are cheaper alternatives to the Lacie I’m using if the ports are just “standard USB-A” – the usual older ports which support USB 2 and USB 3 file transfer speeds.

This is a confusing subject, which I find it hard to get my head around anyway, so I’m attaching a link to an article that should help you identify what ports you have but be aware that the gold standard will one day be USB 4 which will replace the current leading standard USB 3.2, so looking at this article might help you clear the fog.

From this you’ll gather it’s important to know not just the physical port type – USB-A or USB-C, but also the speed of the connection (and cable) it supports – this could at best be USB 3.2 today, but most probably will be USB 3, or 3.1.

So you need to check the specification of your USB Port and the transfer speed it will support. A minefield I know, but it’s an important subject to try and understand to make sure you don’t get stuck with old technology which is being flogged on the cheap because the suppliers know it’s going to be superseded.

Here’s a review of the sort of external hard disks photographers should be looking at. Here’s a review of the disk I’m currently using  and which is pictured above. It’s a a Rugged 500Mb Thunderbolt Drive from Lacie (a Seagate company) which I got from Amazon. For the Mac user it has the advantage of using a fixed old-style Thunderbolt cable connection – which for my purposes was it’s USP until yesterday when I realised I was using the Thunderbolt port on the Mac for the video output; however the disk is also supplied with USB-C -> USB-C, and USB-C -> USB-A cables so you have future-proofing provided out-of-the-box.

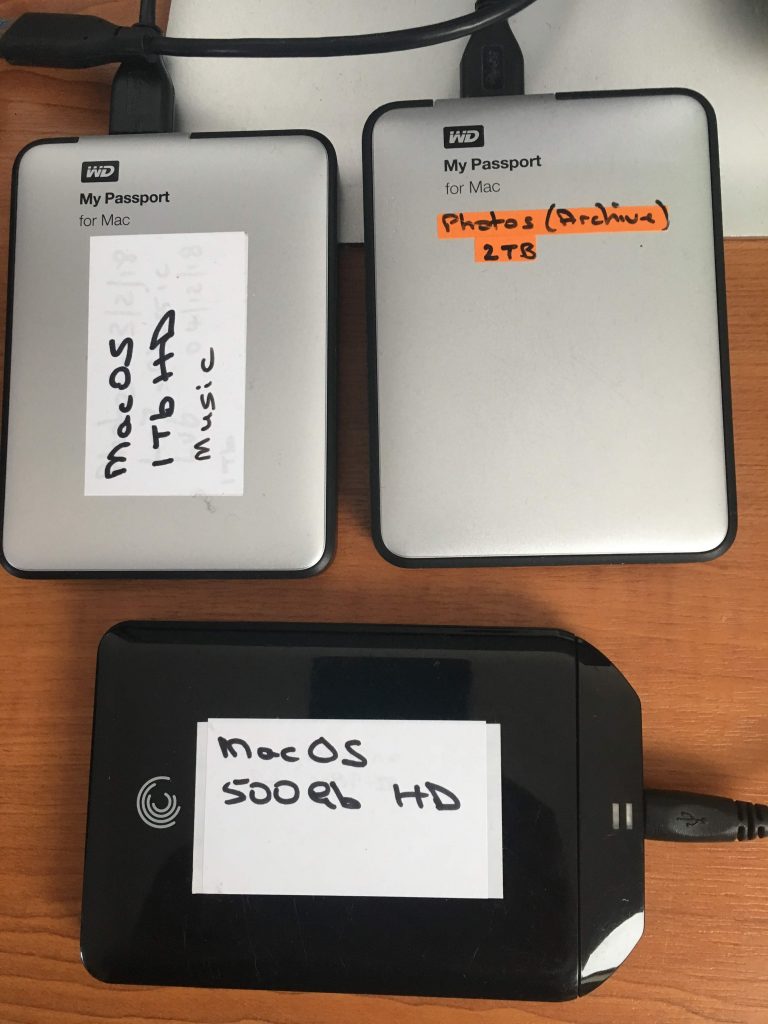
It’s not a drive for long-term storage though as 500Gb will probably not be sufficient for that purpose, I just use it for my annual storage of photos and catalog(s). You should therefore always look to other external hard disks for long-term storage and/or backup. I particularly like the Western Digital My Passport drives for this purpose. These need not be SSD however, as fast read/write is not necessary.

A selection of Western Digital and Seagate external HDD drives, useful for long-term, or archiving purposes.

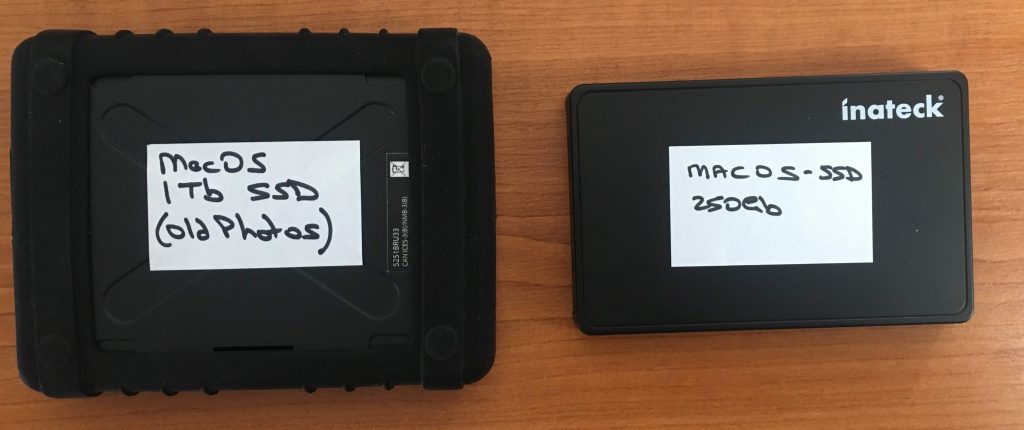
You can also build your own external disks and I’ve done that using both rugged and non-rugged enclosures.

The one on the left is a rugged enclosure from StarTech, the other one uses an enclosure from inateck – both have Crucial SSD’s installed in them. This is a much cheaper way of getting an external SSD drive. I have had no problem with them apart from cable connections occasionally.

Please note that you must always also consider the equipment and operating systems that you want to be able to read/write to and from the disk. If you want to read and write on both MacOS and Windows equipment it’s advisable to consider formatting the disk using the ExFAT format if you’re using Apple equipment, rather than the native Apple formats. This will not be as efficient in terms of read/write operations, but you will get the benefit of better connectivity across equipment. [Note: I don’t use ExFAT other than on USB Stick Drives, as I almost exclusively use Apple equipment.]

Image portfolios, iPads, field triage and Lightroom … and more

At long last I’ve had the time to work through a number of technology issues centering around my photography. This in no small part was enabled by having a week in mid-Wales with Nick Jenkins of Freespirit Images who led the photo workshop from a base at Llanerchindda Farm, and several conversations with Andrew Cooper who, apart from having a lot of the same gear as I have, is a definite kindred spirit when it comes to photographic geekery! Check out his website here.

So let’s start with Image Portfolios. I’ve been meaning for some time to get something together and have been wrestling with whether to put it online, or create something for the iPad. Andrew came up with the perfect solution – Foliobook Portfolio for the iPad – which is amazing and actually hits the online portfolio button as well – here’s the result of my work over the last couple of days – a gallery created from a number of my  Moments like these … images and posts. How does the workflow go … I never thought you’d ask!

The starting point is the Alloyphoto Lightroom plugin for Dropbox. I created a number of Smart Collections and one Collection Set with several more Smart Collections within the Plugin in the Publish Services Library module of Lightroom and then set about refining my image Ratings and Colour Labels, and updating my Keywording to select the images I wanted to go into each Smart Collection. Doing this carefully now means that whenever I rate, label and keyword an image in the future it will automatically update the Smart Collection and allow easy re-publishing to Dropbox.

Why Dropbox? Well yes – it would have been nice to use Google Drive, but Foliobook is built upon an infrastructure that relies on Dropbox to import photos to the iPad  other than using your iPad’s Camera Roll. So publish to Dropbox and then link the Category/Galleries you create in Foliobook to Dropbox folders and images, and the updating is almost painless and ridiculously easy … once you’ve got the hang of it. Thanks Andrew – a great piece of advice.

Incidentally, a secondary benefit of doing it this way, via Dropbox, is that I now have a screen saver for my MacMini and for my Apple TV that link to the same Dropbox folders. Really neat!

Next it’s the iPad and how can it be used “in the field” with Lightroom Mobile. In a couple of words, it can’t … at least not yet, or not the way I would like to use it. Here’s what’s I would like to do, what’s available, and then what the problem is.

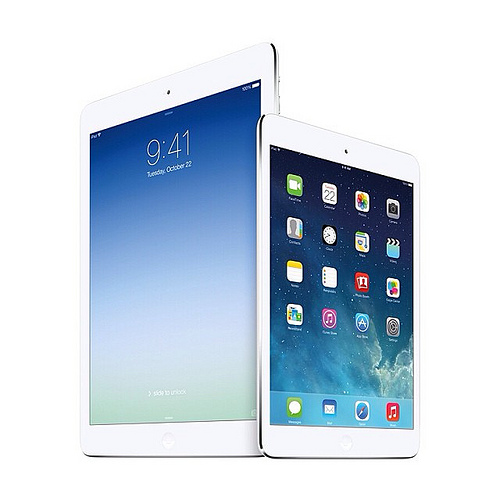
I (and Andrew) would like to use a WD wireless My Passport hard disk, or in my case alternatively the 128Gb of storage on my new iPad Mini 4, to download our RAW images onto, do some edits and then synchronise them through Creative Cloud back to Lightroom Desktop. Unfortunately, this just isn’t possible – read this to understand why it isn’t possible. I can by selecting RAW+JPEG do the edits in Lr Mobile and synchronise those back to the Desktop as JPEGs but there’s no manageable solution yet (I’m not going to do this, even though I’ve tested it with a single image – and it does work) to tie these edits back to the RAW files when I upload them to Lr Desktop.

The problem is with both Apple, and Western Digital, the former becuse they insist that all developers only work through their Camera Roll, the latter because their software doesn’t allow you to transfer files from the hard disk into Camera Roll – I believe you have to ask their My Cloud software to do that, which is slow and clunky. So you’re stuck!

Things may of course change. I’m still looking forward to Apple moving away from Lightning adaptors to USB-C – as on the new MacBook – but they chose not to implement it on the new iPad Pro, so I’m not holding my breath. So for me, it’s still my trusty and heavy MacBook Pro that will continue to accompany me on photo trips.

However, if you’re working in JPEGs you could use the Camera Connector Kit (SD-card, or USB versions) to upload your images into Camera Roll and then use the excellent Lr Mobile software for edits and sharing to social media, or perhaps Snapseed.

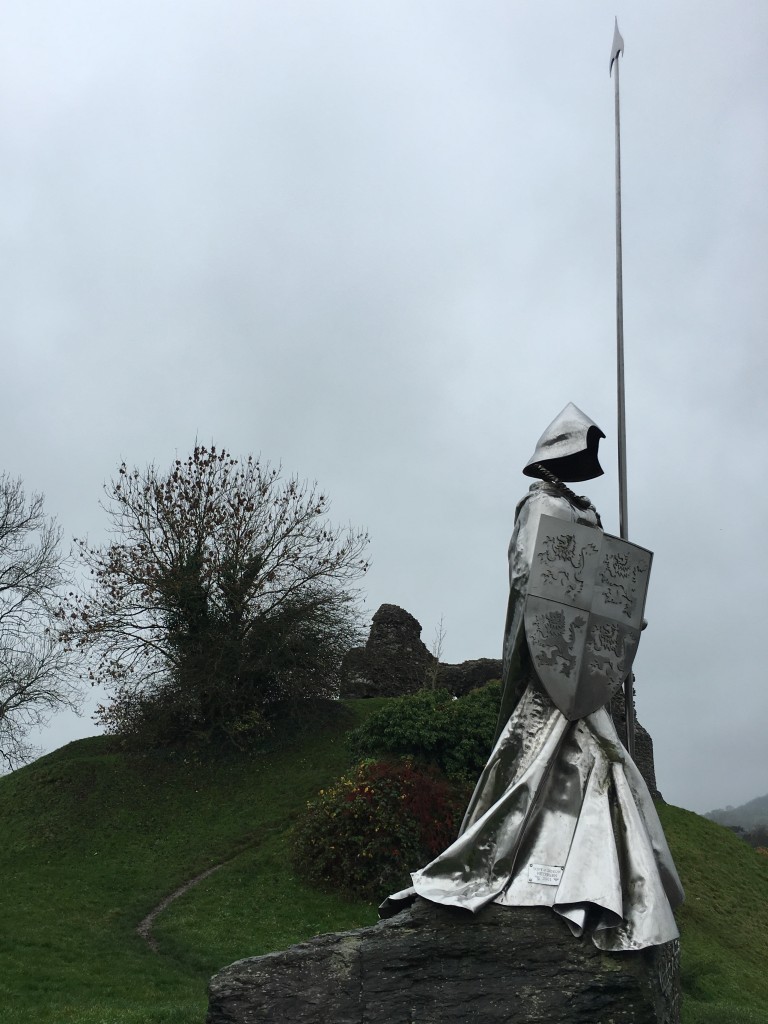
Lots of words in this post – just had to be written though. Here’s an image from the end of the workshop to break up the text …

2015 - 1

… just in case you’re interested,  this is Llewellyn ap Gruffydd Fychan (not Darth Vader) and he stands in front of Llandovery Castle.