From Lightroom to Instagram – a short note

A Plugin I used to use in Lightroom Classic has ceased working due to changes in the way the Instagram API works. Now I’m not overly keen to get back involved in using Instagram (Facebook connections, etc.) but I recognise that I should at least know how to easily get images out of Lightroom Classic after post-processing, and into Instagram. Hence, a little research was undertaken.

The solution is remarkably easy if you’ve subscribed to Adobe’s Creative Cloud Photography Plan – which gives you Lightroom Classic (desktop editing), Lightroom (the cloud-based version which runs on mobile devices) and Photoshop, as well as 20Gb of cloud storage – and a Mobile device (eg iPad or iPhone) that you can run the Lightroom app on.

This post builds upon two other posts I found and combines them.

How to Post Photos to Instagram From Lightroom Classic Using the Lightroom for Mobile app and How to Export Photos for Instagram from Lightroom Classic CC (2018).

Here’s what you do:

  1. You create a Collection in Lightroom Classic of the images that you intend to send to Instagram …
  2. You will see the Collection has been created and that it will be sync’d to Lightroom when you see the two-way arrow highlighted in the box to the left of the Collection name …
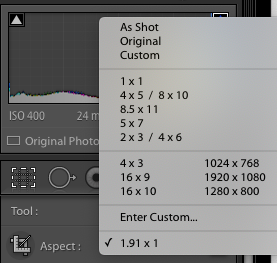
  3. You then do whatever edits you want to do to the image and drag it to the Collection when you’re ready. You might wish to crop the image appropriately for Instagram; this you can do in the Develop module > Crop & Straighten by choosing one of the preferred Instagram dimensions – Square (1 x 1); Portrait (4 x 5) or Landscape (1.91 x 1) which you will have to add as a Custom Aspect Ratio, eg …
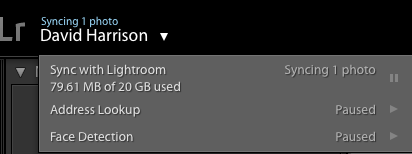
  4. You then are ready to Sync your Collection(s) with Lightroom (this will happen automatically if it’s switched on, as below) otherwise you’ll have to click on the Paused arrow icon to start it) …
  5. You are now ready to switch to Lightroom on your mobile device. You should see the image you’ve sync’d …
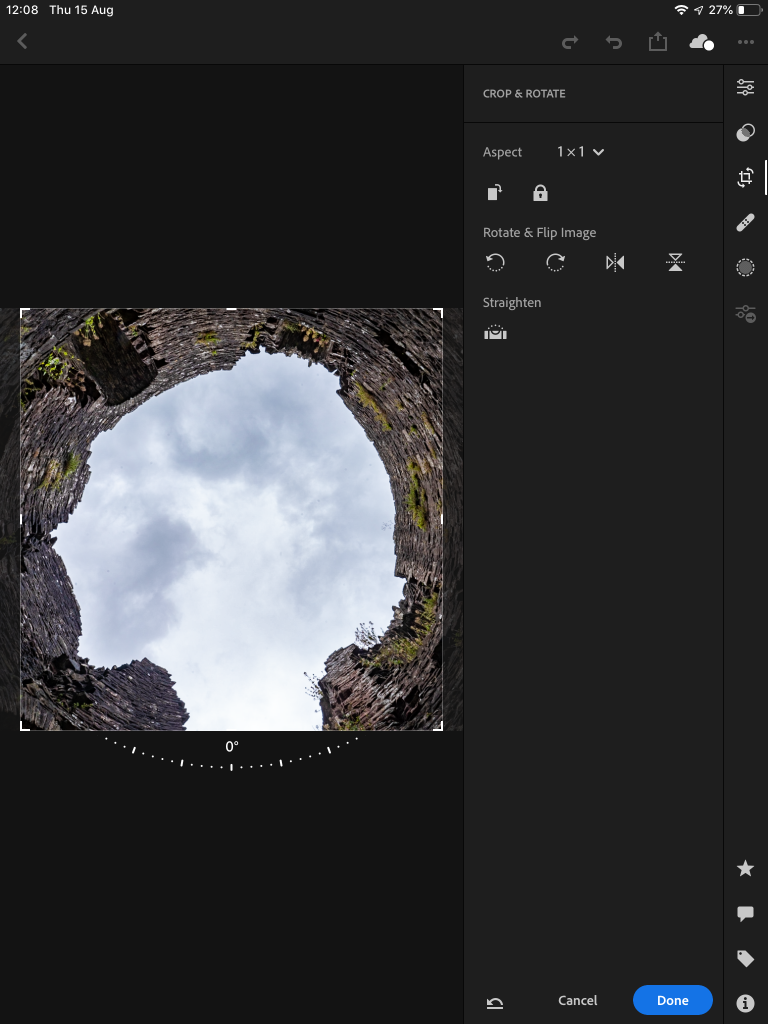
  6. … and you have another chance here to crop the image to an Instagram size before you select the Open In option from the Share menu [NB Any changes you make here will be sync’d back to Lightroom Classic]. You will be offered a choice for re-sizing and should choose Small – 2048px …
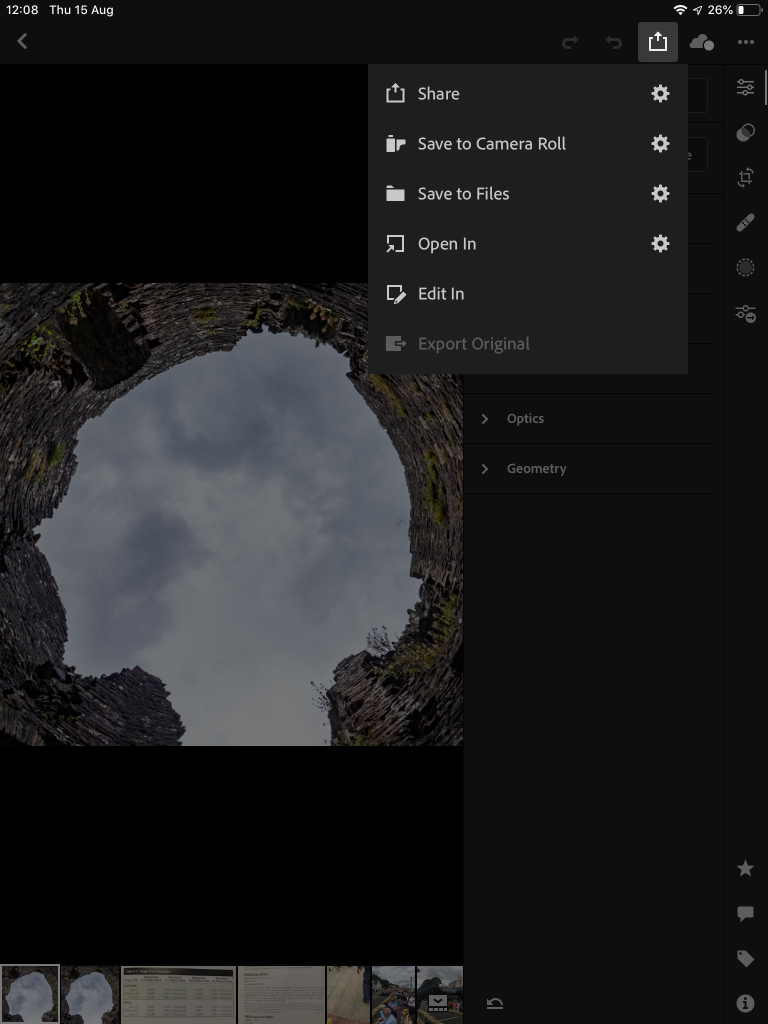
  7. … and select “Copy to Instagram” from the range of Options you are offered (NB You might need to Add this option to the list provided) …
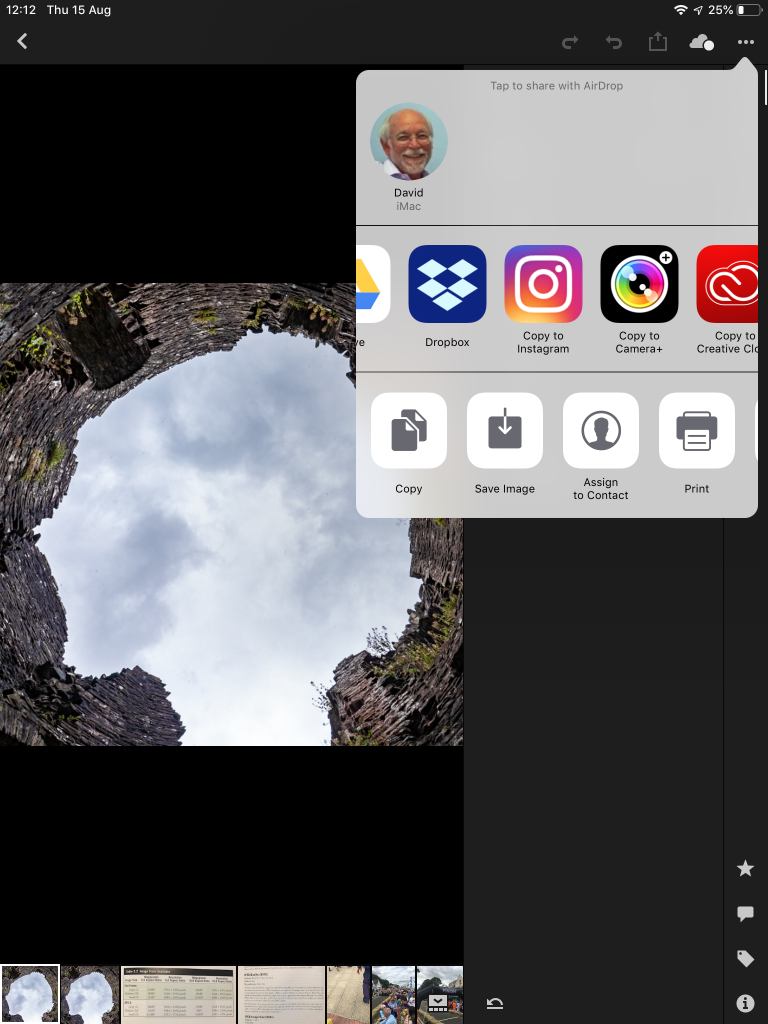
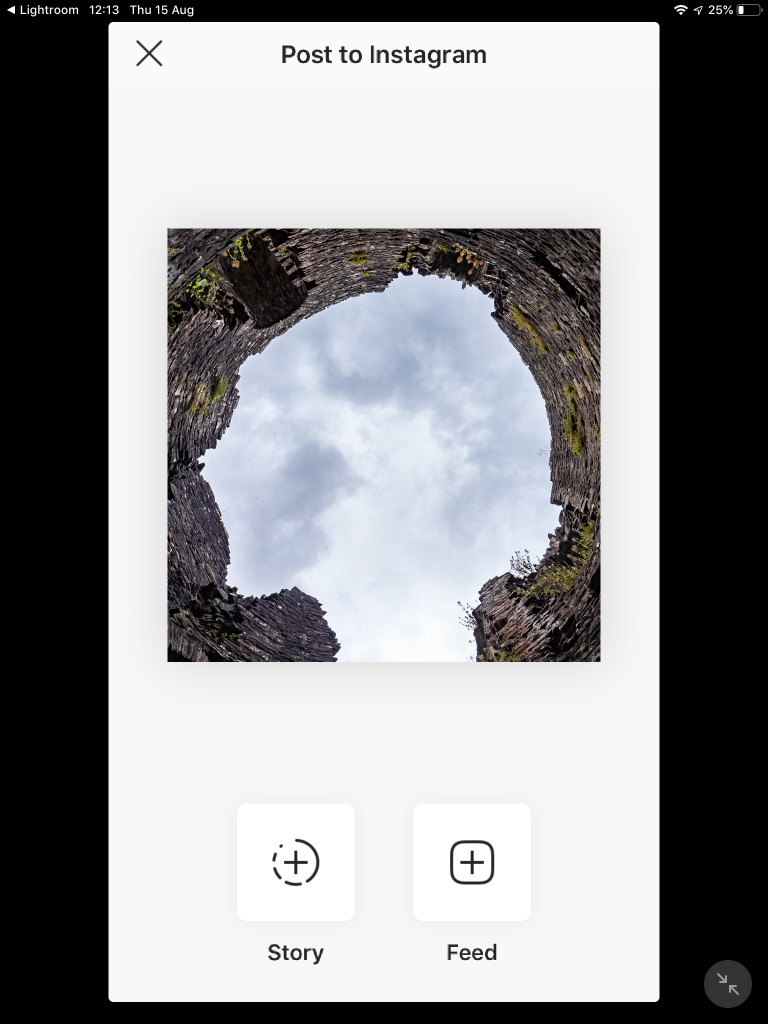
  8. … and then this window will open …
  9. … which for most Instagram posting purposes you will select “Feed” …
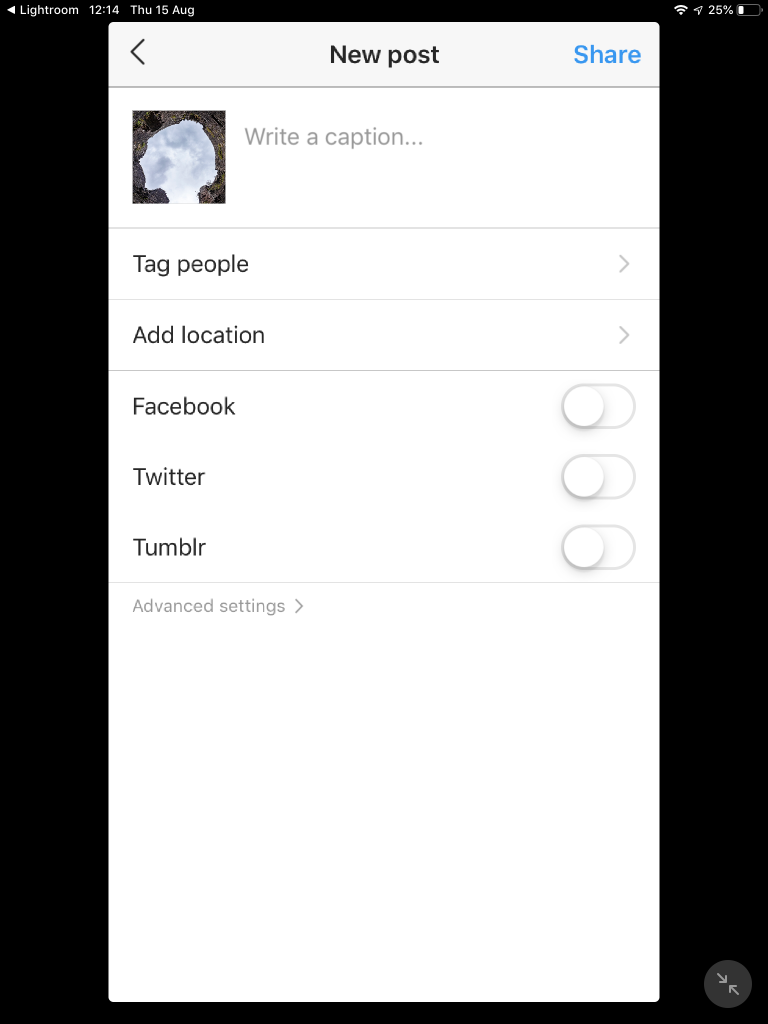
  10. … which will allow you to Caption your post, add tags, etc …
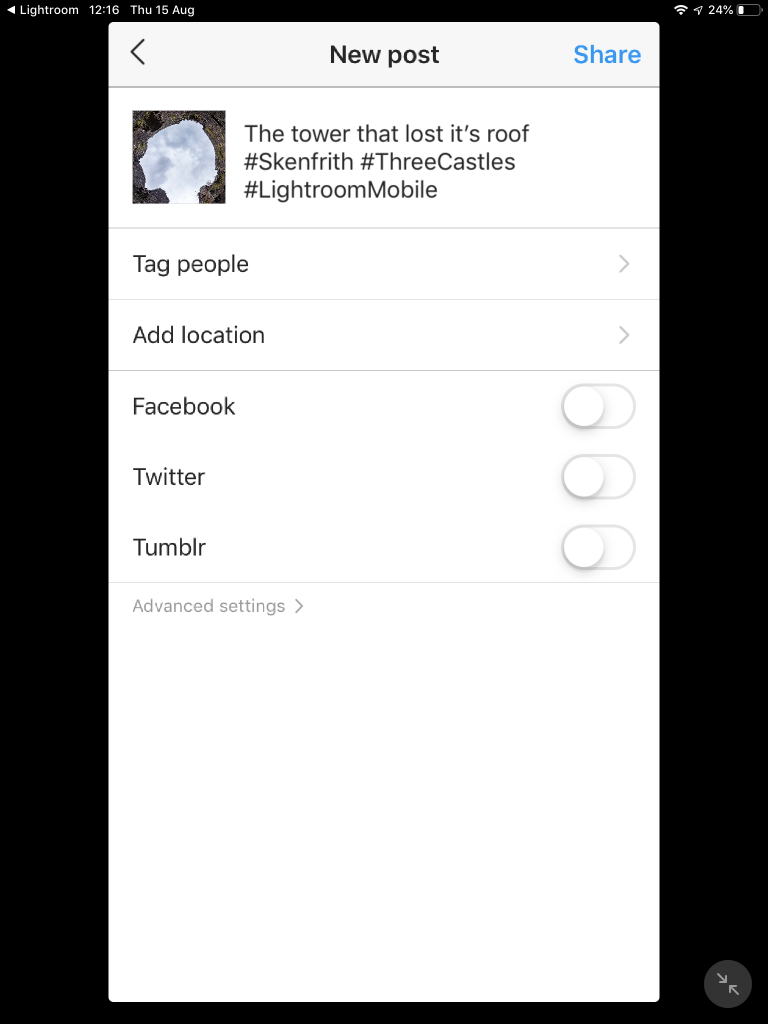
  11. … as well as letting you add additional information to your Instagram post and publicise it on Twitter etc., before clicking on Share …
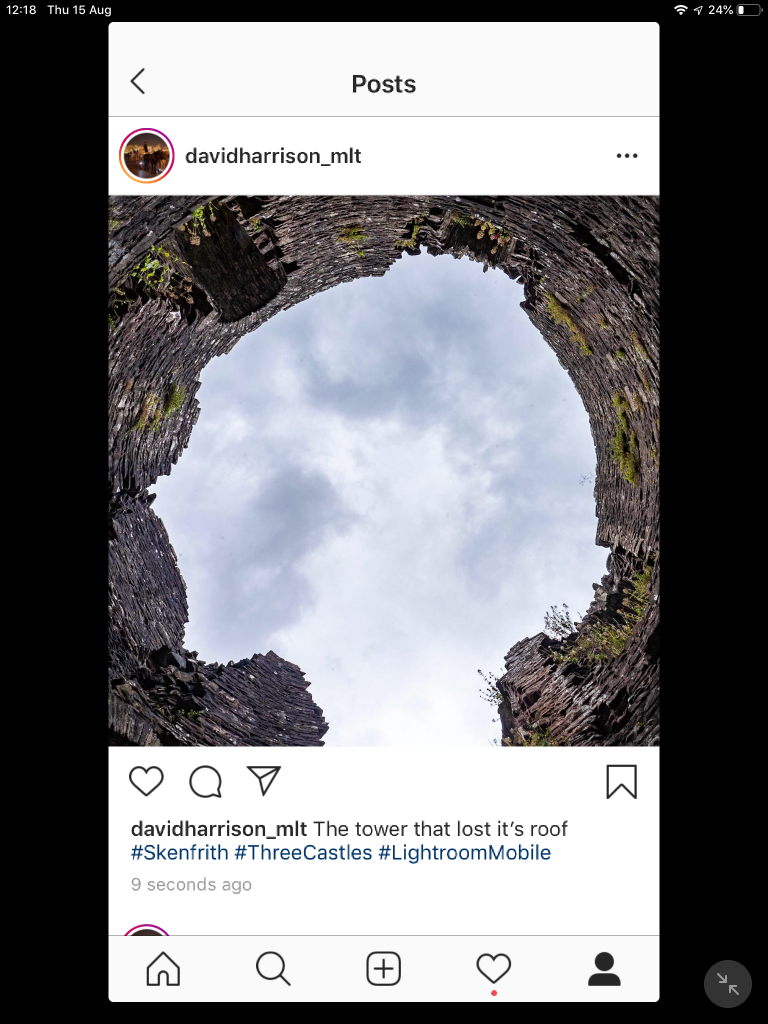
  12. … which should create the post as above.

And that’s it. Note also that any changes you make to the image in Lightroom after posting will NOT be reflected in a change in the Instagram post … it’s not a Lightroom Publish Service.


Photography and technology – an update

It’s less than a month since I wrote a post on roughly the same subject – but how fast technology moves, and how you can be challenged to re-think the way you do things … if you have the time! For me, the penny just dropped this morning on how I could use Apple’s iCloud on Perseus (the Windows beast in the loft)! Up ’till now I’ve been using iCloud to synchronise Photostreams between the iPad and iPhone and #MBP (my MacBookPro laptop). I hadn’t thought of using it on the PC at all, indeed, I didn’t want any further confusion in the complex synchronisation world I already inhabit – Dropbox, Oxygen and GoogleDrive.

Suddenly, however a missing “use case” came to me, one that I’d completely overlooked – how do I make photos uploaded into Lightroom (on the PC) easily accessible for social media posts (Instagram, blipfoto, Google+) from the iPhone/iPad. The solution was obvious, but I’d overlooked it! I would make my imports folder on the PC (where I create a back-up copy of pictures uploaded into the main Lightroom filestore) the iCloud folder I synchronise for My Photostream. Voila! I have a new workflow and one that is implemented in the background without me having to do anything at all. Once the photographs have been backed-up again – to an external hard-disk – the imports folder is wiped and the iCloud storage (Photostream) is cleared also. Don’t you just love technology!

So here below is the new, revised, updated, edited version of the earlier post.

I’ve been meaning to write this down for a long-time. Now seems as good a time as any to have a first-shot at documenting what I do.

I use three cameras. The main one is the Sony Alpha 700 – it uses Compact Flash cards but I usually transfer pictures off it using the USB cable. The everyday camera (used on walks as well) is my Panasonic Lumix TZ10 – it uses SD cards, but again I tend to use the cable for transfer pictures. I use it also for short video clips. It has an inbuilt GPS capability which I have switched-on. It’s worth noting that I have several Compact Flash and SD cards. I try NOT to delete any pictures from a card whilst away from the desktop machine, even if I’ve downloaded pictures to either the Mac Book Pro, or the iPad.

[Incidentally, the iPad with the Camera Connector kit works really well and is a good travelling companion with these two cameras. To transfer photos from the iPad (or iPhone) to your computer read this article from Apple]

Finally I use my iPhone 4s for both pictures and video clips. They are uploaded to a My Photostream folder on the PC using iCloud. They are also uploaded to Google+ Photos by Instant Upload. Albums of “post-processed/finished” pictures are uploaded to Picasaweb (Google+ Photos), 500px, or Flickr or synchronised by specific folder using iTunes.

Pictures from the first two cameras are always imported into Adobe Photoshop Lightroom (v.4) into a Folder for the Year, Sub-folder for the date residing in the My Pictures folder (which happens to be on my Removable Hard Disk (E) drive in Perseus (my dual-boot WinPC) – I plan to move this to my faster and larger User Space (F) drive at some time as this will be my main work area). The import is controlled by a Pre-set in Lightroom, and a Backup Copy of the pictures is made at the same time automatically to a folder on a different drive (currently F:My backupsLightroomImports). This folder is cleared-out periodically after other backups have taken place. [NB This is the folder I’m using as the iClouds upload folder.]

Pictures from the iPhone are Imported into the My Photostream folder in the My Pictures folderPhotos from this folder will occasionally be imported into Lightroom.

After processing in Lightroom, which includes tagging them and adding them to Collections, they will be exported to Picasaweb using a Lightroom Plugin (or 500px, or Flickr, or …) for sharing in Google+. They might also be exported as a final picture into a JPG (all other work with the Sony pictures is done on the RAW {.ARW} format files) because Lightroom does not store changed pictures, it stores the changes you’ve made to an original – so you can always go back to the original) – and to do this I save at the highest possible quality and size.