Update: Go to bottom of post for a change in advice …
I was recently asked my opinion on buying an entry level Mac system that could be used for Photography – principally for use with the Adobe Creative Cloud Photography Plan.
The budget was set as equivalent to an iMac M1, 2021 24″ system, but I had been impressed by the reviews I’d read for the Mac Mini M1, 2020 system – the first of the new Apple M1 systems to be introduced. I made the following observations in comparing the Mac Mini as an alternative to the iMac …
“We’re talking about the base model at £699 with 256Gb of SSD (storage) and 8Gb RAM. [I’m thinking you would not need more than 256Gb for storage as you could store/archive photos on an external disk – more about that later because it relates to a possible iMac 24” as well.]
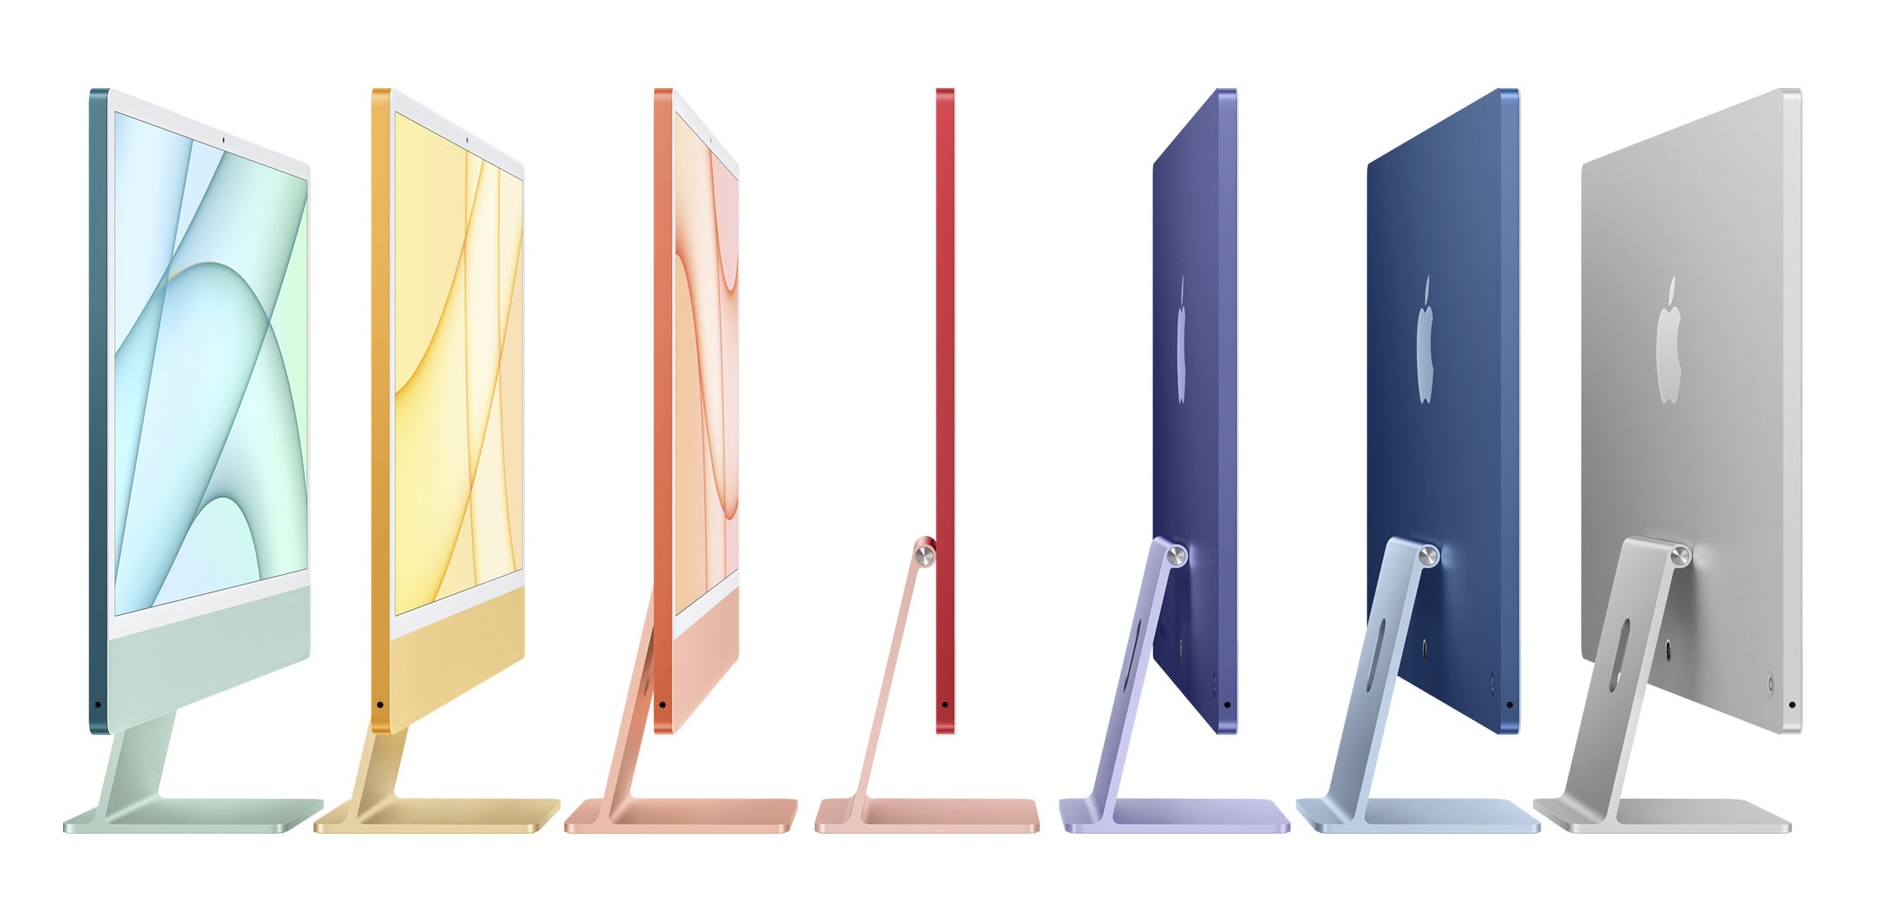
A comparably spec’d iMac 24″ would be £1449 – both are 8-core CPU, 8-core GPU systems, so identical processing power.
The cheaper model (£1299) I wouldn’t recommend as it doesn’t have ethernet, and doesn’t have the legacy USB-A ports (which are not essential, but are really useful to have and removes the need for convertors – which would take up Tb/USB-C ports which you could be using for external fast Tb hard disks – see below!).
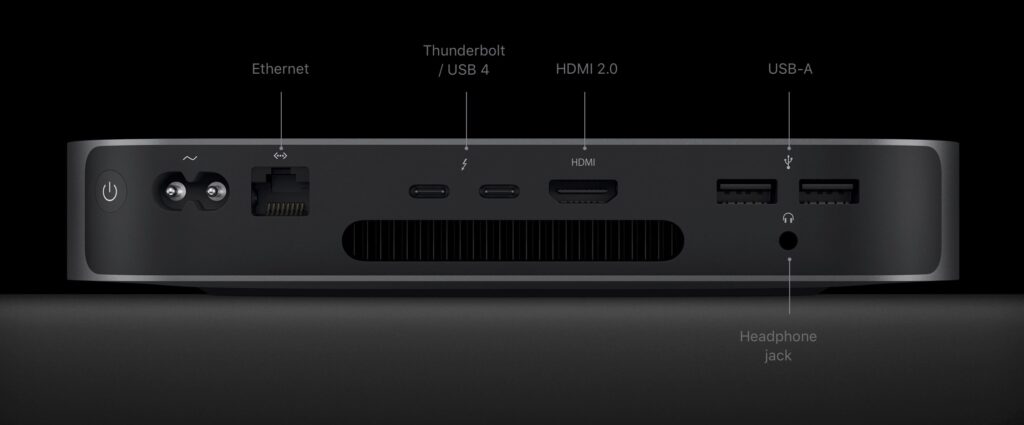
With the Mac Mini you also get an HDMI slot (so you could run it through a TV as well as possibly using this port for a monitor). [I have done this – I’m still using an old Mac Mini as a Media Server.] However you need to purchase a display, a keyboard and a mouse to do a true comparison. That’s the next step.
The latter two are easy. Apple’s Magic keyboard – (£20 less if you want a silver/white one) and Magic Mouse – again £20 less if you want a silver/white one are the obvious choices – but you can repurpose exiting keyboards and mice if you want to save money! So that’s £258 to add to £699 for the Mac Mini.
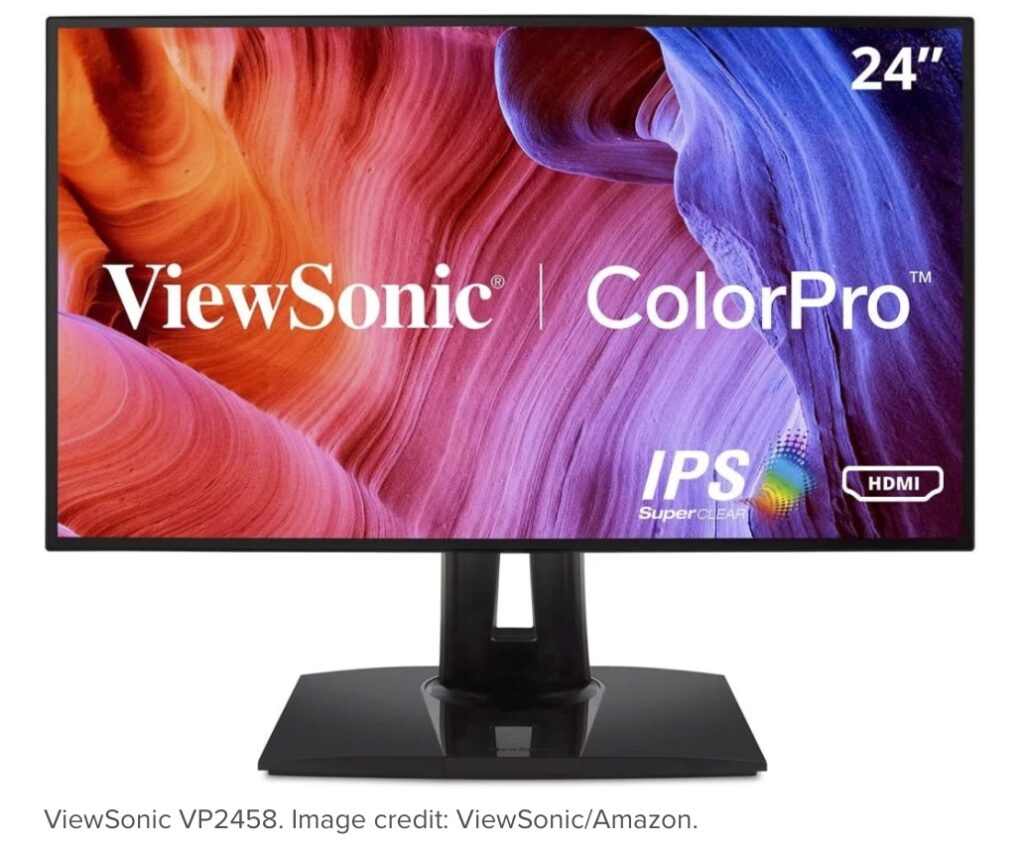 To match the iMac (similar spec as above) leaves £492 for a monitor, and here’s a ViewSonic one that gets good reviews for £201. So that leaves you with money in hand. If you wanted to spend more you could go for a bigger screen, or a different make. I have a Benq monitor (not this one though) – they have a very good reputation. A recent review of monitors for the Mac Mini can be found here.
Doing it this way gives you a lot of flexibility to buy the right machine, with the same performance, and add the flexibility of getting the best possible display within a budget of £1449 – which I deem to be the minimum for an iMac 24″ equivalent.
Next … on to RAM. The consensus appears to be that if you’re NOT a professional, and you AREN’T into heavy-duty video-editing, then 8Gb RAM should be sufficient. However … as you can’t upgrade either of the two Mac models, I would always shell out the extra £200 to get 16Gb RAM, if you afford it. Indeed you could use the money saved on the ViewSonic monitor (above) and you’d still be in credit!!!
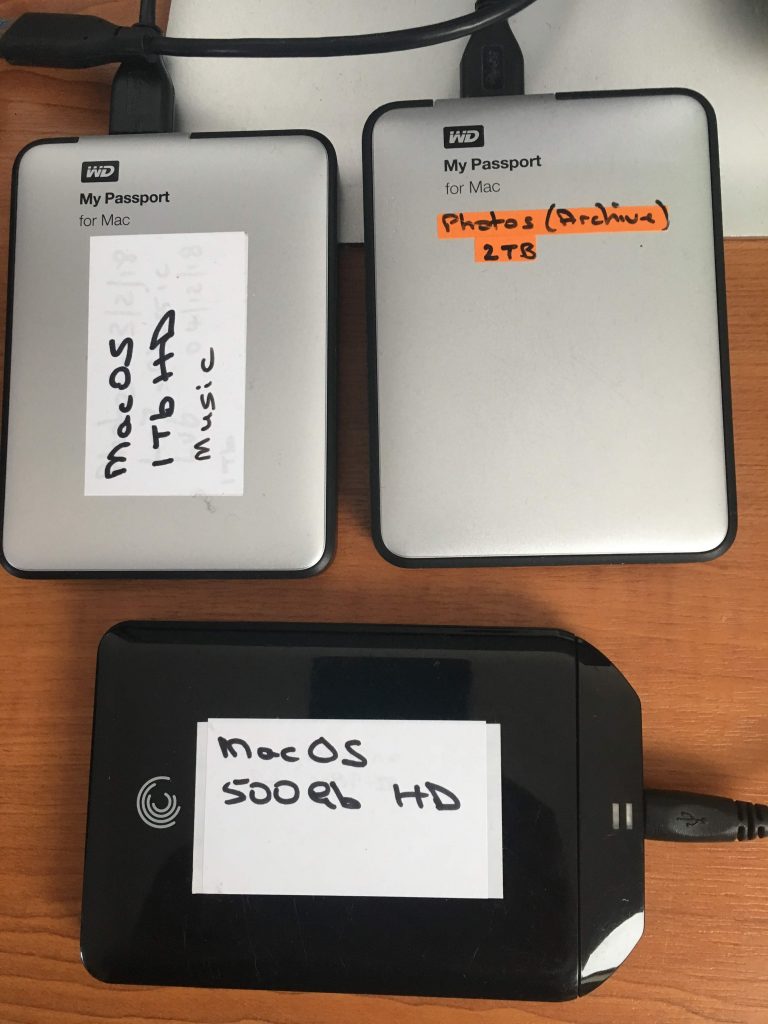
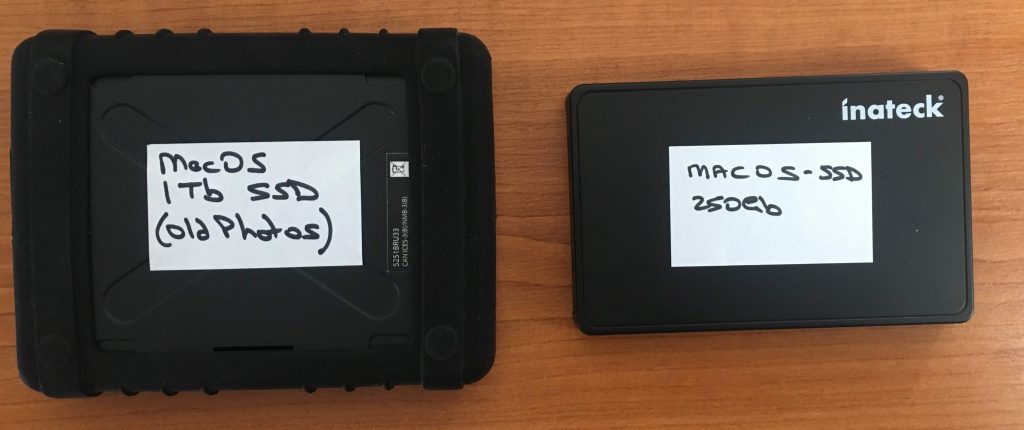
And finally external hard disks. The beauty of the Mac platform is that it has developed and promoted the fastest Thunderbolt technology. Therefore for archived images (or documents) you will not notice any problems (at least I don’t) by using external hard disks rather than increasing the minimum of 256Gb SSD in the system. You should use this storage for applications and current (ie a couple of recent years) images, and store everything else on a dual-drive external configuration. One for archived images/documents that you might want to access occasionally, and the other for TimeMachine backup – the best and easiest to use backup software ever invented. [Indeed I would go as far as to say that I’d consider buying a Mac for TimeMachine alone!!!]

Both of these could be normal HDD technology as the speed of access you get from SSD would not be required. I’d certainly recommend looking at either Lacie, or G-Tech Drives (I’m using the latter these days) – I have this one for my photos – and this one for my backups.“
I have one caveat to make. The Mac Mini M1, 2020 will almost certainly be replaced/upgraded later this year which means you a) might have the opportunity to get a refurbished one, b) might considering a possible delay until later, or c) might just crack on with the project knowing that even the current model is a really good option [Review article].
24 hours later: I showed this to a friend and he pointed out the discrepancy between the monitor I’d suggested and the pixel density of the iMac 24″ display, and casually commented that I hadn’t added a camera either. Both of these factors materially change the advice given above, and whilst I still maintain the Mac Mini is an excellent platform for Photographic use especially when paired with a high quality monitor, I have to concede that you cannot improve on the iMac 24″, 2021, 8Gb RAM, 256Gb SSD with the extra ports at £1449.
