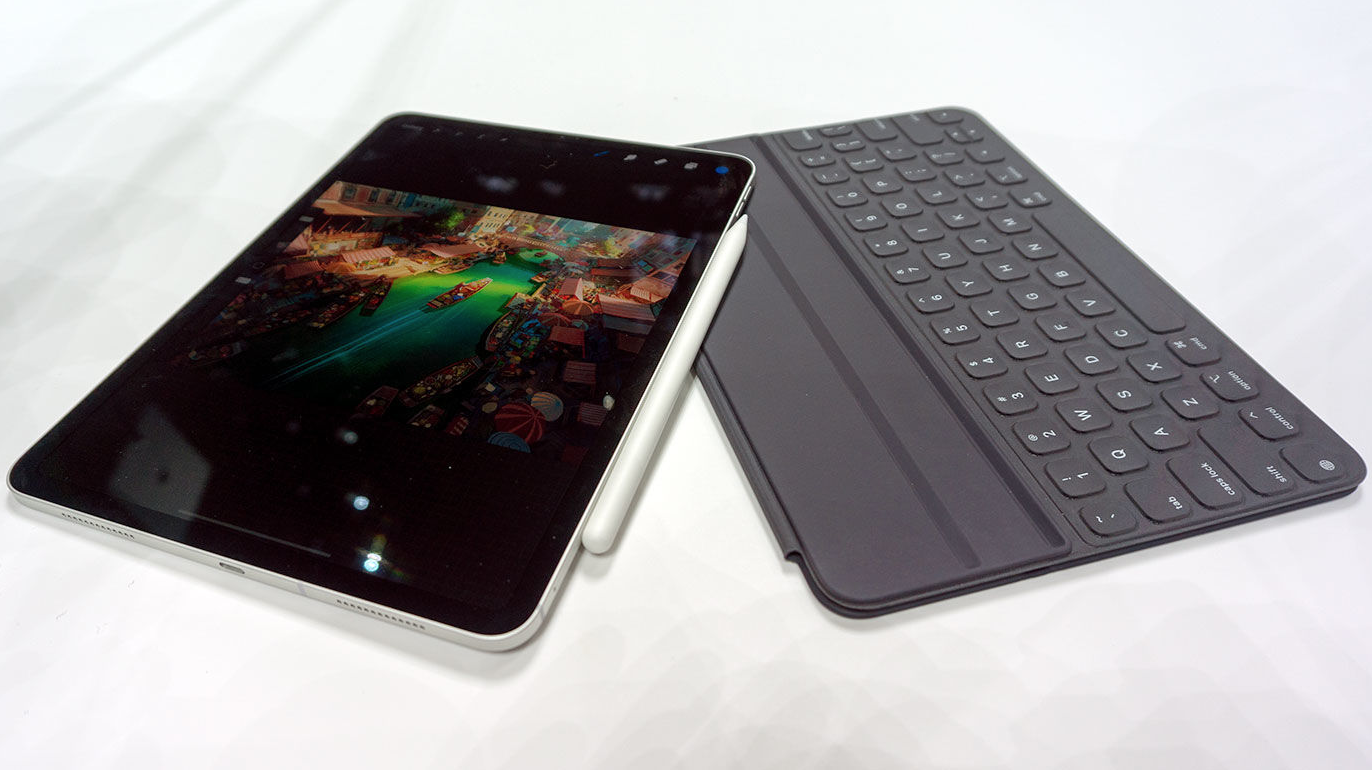
Following my last post on the subject – Lightroom on the move – biting the bullet – I thought it might be useful to record my experiences with using Lr Mobile and my iPad Mini 4 on a recent trip, so that if I should ever be tempted back to using Lr Mobile, I’d have a benchmark to measure the progress of the software against.
Let’s start with some background, just in case a reader (is there anybody out there – to quote “The Boss”) hasn’t read previous posts. This thread started with a post written by Nicole Young – that prompted me to try an experiment travelling without my laptop. That didn’t work well for me initially, but I determined to have another go, which I wrote up in the post – Travelling with my camera and without my MacBook Pro – which also didn’t go too well either!
Now call me a fool (if you will), but having learnt a little more about Lr Mobile (I know it’s not called Lr Mobile, but I need to call it something other than just plain Lightroom – because that’s what Lightroom Classic really is – I’m oldskool), I thought I ought to try it again.
Some starting points …
I decided to set up my Sony A7rIII to use SD-Card Slot 1 for RAW and Slot 2 for JPEG. My reasoning here was that I thought I could upload from the Slot 2 Card to my iPhone for sharing images on WhatsApp etc. This worked fine – no need for Lr Mobile at all for this. Just the SD-Card; an Apple Lightning -> SD-Card Adapter AND an iPhone 6s.
These images also automatically synced to Google Photos where I created an Album to Share with Family. Happy days!
However …
Although the upload to the iOS Photos app worked fine, my External Lacie SSD Hard Drive doesn’t seem to be working with this iPhone using a powered Lightning -> USB 3 Adapter; the drive wasn’t recognised in the Files app, thus I couldn’t Export from the Camera Roll onto the external hard drive. Is this a Lacie fault, or is the iPhone 6s too old? I have to investigate this and will report back later!
Why was this a problem? Well the JPEG Images uploaded to iPhone from SD-card Slot 2 to share from the iPhone were been merged with native JPEG images taken on the iPhone. I couldn’t distinguish where they were coming from. This might not be a problem for some people but the Sony JPEGs were not supposed to replace the RAW images that I was examining in Lr Mobile!
There doesn’t appear to be an easy way to separate them. There are no filtering options in either Apple Photos, or Google Photos. How then do I merge iPhone JPEGs into my Lr Classic catalog?
I can’t find a search on filename available on the phone – there might be in iCloud from a web browser, but I haven’t researched that … yet!
This “problem” was solved by loading JPEGs into another space on my hard disk, not into my regular Images folder, then Adding them into my Lr Classic Catalog (not Moving or Copying), selecting the iPhone photos from the Sony JPEGs using a filter, and removing the Sony JPEGs from Catalog, then Moving the remaining JPEGs into the regular Images folder on my External SSD into the newly created and correctly titled folders in my Catalog BEFORE doing the Import of the RAW image files from the SD-card that had been in Slot 1. [Not forgetting to delete the Sony JPEGS from the other location to avoid clutter!] All an annoyance that makes the workflow tedious!
I also encountered other problems ..
The keywording options available in Lr Mobile are rudimentary and I don’t believe you can create a Preset to apply metadata at the time of the RAW import into Lr Mobile. It can only be done individually to an image. This meant I had to go through the whole collection and tag separately in Lr Classic after the images had been Synced (or in my case Imported as I had abandoned Syncing for the reasons given in my concluding remarks below). At least I could Select and Tag in Lr Classic, which I couldn’t in Lr Mobile! Another annoyance.
Even though I decided to use Compressed RAW in the camera, I ran out of space on the iPad Mini 4 – I would need to upgrade to a new iPad Pro (or a new MacBook). Also, the Lacie SSD didn’t work on the iPad either … again, is this a question of old kit, or a Lacie problem – I need to follow this one up.
I quickly ran out of Creative Cloud space – 20GB definitely not enough, even when using the “Delete folder (saved for 60 days)” trick! See below, a note I wrote to myself on table-top experiments with Lr Mobile before I left …
Quick note after using “web-enabled” Lightroom last night. It took very little time to sync both iPhone and Camera (using card reader connected to iPad) up to the cloud – 45 photos. I remembered to switch off Sync as well!!!! It took a couple of minuted to then sync to the desktop this morning. What was interesting however was that when I switched on Lightroom Classic, the application already knew how much of my Creative Cloud storage was being used – 1.59Gb for 45 pictures.
I must say now that I’ve got used to it, it’s much more straightforward than I though to use the Syncing with Lightroom Cloud. I particularly like the way that photos taken yesterday with my iPhone have been easily integrated into the workflow. One thing to note however which I forgot to cover … you need to switch off Syncing from the Lightroom Classic Collection (Albums in Lightroom) by clicking on the double-facing arrow against the Collection, and then perhaps (if you use Collections in Lightroom Classic) move the Collection to a different place. Also, your final task should be to Delete the photos from the Creative Cloud storage by clicking on All Synced Photographs (in Catalog panel) – and deleting them; as long as Sync is still enabled they’ll be deleted from your Creative Cloud storage allocation. You should then Pause Syncing. Remember however that everything you Delete will still be in the Deleted storage in Creative Cloud, and will stay there for 60days without counting against your storage allocation. That’s all. I’ll try and get round to amending the notes tomorrow to add these points.
However, unlike the experience when syncing at home, syncing in the wild was slow and not a realistic way of saving local storage. Also syncing when I got home was temperamental and I waited for some time, and then gave up, attempting to get a connection to Creative Cloud from my desktop. Things have to work smoothly and not rely on “clever” kludges or workarounds!
At one time I thought there was duplication in Google Photos due to Backup and Sync but this does not appear to be the case. It’s just a delay issue in refreshing the caches I suspect.
So a conclusion …
I would have to upgrade my Apple kit to get Lr Mobile to work for me. Does that mean a new iPad Pro? Or a new MacBook Air?? But I don’t need either as my MacBook Pro works well – it’s just heavy. I do however probably need to review whether getting a new iPhone sometime soon might be a good idea – improved camera(s), connection to external SSD, etc. A cautionary wait and see is probably in order but currently a new iPhone would seem a better way forward.
I do not like the Default Sync setting which means you have to remember to switch Syncing Off after an upload. This also reverts back to being the default when the Software is upgraded. It is really the wrong Default and Adobe should review this.
I do not like the lack of Selection in Lr Mobile. You should be able to Select what you want to Sync – not everything. What’s the point of having the ability of selecting the Collection you want to Sync from Lr Classic to an Album in Creative Cloud, if you can’t do exactly the reverse from Lr Mobile to Lr Classic. It doesn’t make sense and the phrase “hammer and nut” comes to mind; plus of course “upgrade to more Creative Cloud storage needed”, and more dosh for Adobe!
The inability to Select and Keyword a group of images is also a drawback to me; as is the absence of Colour Labels – which I use a lot.
So I have decided NOT to sync. photos from the iPad using Lr Mobile. I could not get a quick and reliable Connection. I will however keep watching for developments from Adobe that might encourage me to have another try. I will continue to use Lr Mobile in one situation – that of integrating native JPEG iPhone Photos into Lightroom Collections. That might be a useful addition to my workflow if I get a new shiny iPhone. This “use case” seems to be what Lr Mobile should be good at!!!


