Google Photos & Snapseed – an update

I’ve posted articles on using Google Photos a few times. Of course with the passage of time, features, and interfaces, change, so it is always useful to just review “what’s occurring”, and see whether there’s anything that needs correcting, or adding to. I will try and go back and edit the posts listed below to reflect changes that I’m aware of.

First and foremost it’s important to note that I don’t tend to use Google Photos for anything other than sharing photos with family and friends, so my use of the editing features is a bit limited. I am however a strong advocate of using Snapseed (available from both the Google Play, and Apple App Store) as a photo editor, but as it works best with the Google Photos app, it’s necessary to install Google Photos as well. [Snapseed is not available as a native desktop app on Windows or MacOS; it’s only available on mobile devices (Android and iOS/iPadOS).] So the first link that’s important to be aware of is this one …

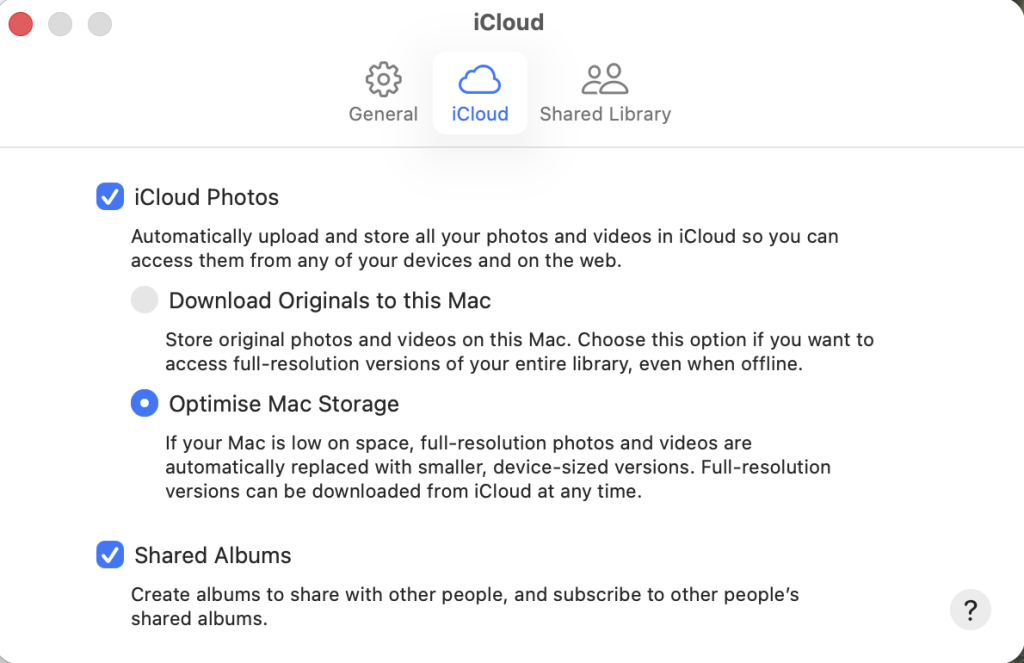
Google Photos and Apple revisited – if you’re an Android user you can skip this article and move to the next paragraph – all your photos taken with your camera will be safely housed in the Google Photos app!!! If you’re an Apple user it’s important to understand how synchronisation works with Google Photos and the Photos app on iOS. If you’re not careful you can either end up with duplicate photos on both platforms, or worse still deleting photos from a device thinking that there’s a copy “in the cloud”.

The next bit of housekeeping is to understand what happens if you want to delete a photo from Google Photos – it’s not entirely straightforward (but it is easier than in the Apple world!!!). This article I wrote – “How do you delete photos from Google Photos?” – attempts to help you delete what you want to delete from your device, or from Google Photos on the web. This is particularly a problem if you’re an Apple user with a Camera Roll, rather than an Android user with Google Photos – so you’d be advised to read it.

So we finally get to editing our photos and using Snapseed. This article – “Snapseed and Google Photos” – is a good overview and will take you quite a way down the road of installing Snapseed, it covers the basics of how to get photos from a camera (rather than a smart phone) into Google Photos, and some basic editing of a photo. There are also links in the article to earlier posts on using Google Photos as well as a video on “getting started” and some additional references that I found useful.

The new stuff!

How To Use Google Photos: The Ultimate Beginner’s Guide [2023] – if you want to just stick with what’s possible for you to do in Google Photos this is just about as good a guide as you’ll get. It goes through all the features of the app, but doesn’t cover editing photos in any detail. If you want a video that covers the same ground, you might like to watch this [I’d like to remind you of the point I made about his reference to Backup and Sync if you’re an Apple user – my earlier comments apply!!! He has decided to use both iCloud and Google Photos on the web for two backups.]. Google’s help guide to editing photos is provided here.

So we turn to Snapseed – here’s a beginner’s video on how to use Snapseed for editing, you should also refer to the article quoted in the earlier post – Complete Guide To Using Snapseed To Edit Your iPhone Photos – from which I also recorded the video from my computer screen, but it’s obviously better using the link from the article. Also please note that although iPhone is mentioned in the title, it’s 100% applicable to Android phones as well. Finally you might probably want to look at this – SNAPSEED: ULTIMATE USER GUIDE + TIPS (2024 UPDATE) – if I’ve convinced you that Snapseed is the “goto” app for photo editing on your smart device.

Google is always updating its apps, and this is particularly true now that we have AI. So a recent update introduces the possibility of background blur – which can make a portrait of a person stand out more, by weakening the effect of the background. Google writes about its new AI features here, and here,

Finally … this article has been all about using Google Photos, which might have let you think that Apple’s Photos app is not so good. In a forthcoming post, I will be examining how Apple Intelligence (available in the autumn) will quite possibly revolutionise Apple’s photo applications, and will for some, if not all, Apple users mean they might be less likely to use Google Photos going forwards. They’ve already moved to allow the sharing of albums stored in iCloud to anyone via a link. That’s progress!!!

Lightroom Classic, Apple Photos and Google Photos working together

plus Transferring Files from Apple Photos app on your Mac to Lightroom Classic – addendum provided by Michael Barnes

The more I use my iPhone for taking photos, the more I’m forced to review whether I have the correct strategy for sync’ing, sharing and backing-up my images. This update to my posts from last year started by me puzzling over whether there wasn’t a better way of uploading images from Lightroom Classic to Google Photos for subsequent sharing – other than Export to Desktop; open Google Photos from a browser; upload images, ie Method 1 – which was described in last years post. This then led to me reviewing how Apple Photos and Google Photos were now working (or not working) together, one year on!

Let’s just start by saying I’m not going to follow the advice in this article, the use case of which I described in the original April 1st article – however sound it seems – because I’m NOT going to go back to having three copies of an image to manage (or in my case, confuse me)!

However starting from the consideration of me needing to get images out of Lightroom Classic and into an alternative service – a process that is NOT supported or enabled by Adobe – led me to the realisation that there was a better way of doing the upload to Google Photos, that moreover NOW allowed me to re-start re-syncing files in my Google Drive folder on the Mac desktop, to Google Drive in the cloud as Google Photos and Google Drive have separate sync’ing processes. Win Win!

Furthermore, I discovered that there is now a way of exporting older images from Apple Photos to Google Photos which enables you to then delete images from your device (iPhone, iPad, MacOS, or iCloud Photos) without worrying about losing them. WinWin again!!

Use Case 1 – getting images from Lightroom Classic (LrC) to Google Photos.

You might want to do this to enable sharing images with friends/family/everyone. (Although you can share from iCloud, the facilities in Google Photos are much better and they are more friendly for non-Apple users to follow.)

Step 1: Create a Google Photos folder at the Home level on your MacOS desktop …

… you’ll notice that there’s a Google Drive folder there as well – more on that later.

Step 2: Choose the images you want to send to Google Photos and then Export from the LrC Library. These are the Presets I have for that process. You’ll note that I’m going to Export to the Folder I’ve just created …

… I can then create a sub-folder to put the image(s) in, and Rename them should I choose.

Step 3: ( which isn’t a step, because this is where I found Google has changed). You enable Sync’ing from a named Folder from the Google Drive app that you need to have installed on your Mac desktop, and Active, and the images upload automatically to Google Photos.

So you can see from this that if you Export an Image to a named folder, in my case called Google Photos, it will automatically be added to Google Photos.

Thank you Google.

Use Case 2 – getting images from the iPhone to Lightroom Classic (LrC)

I’d always been reticent to use the Adobe Creative Cloud to sync images from the Camera Roll on the iPhone to LrC, but I now think that was probably being a bit short-sighted. So this workflow, although it does require some management and intervention, is by far the easiest way of transferring images.

Step 1: Enable Auto-add in the Lightroom app on the iPhone – … > App settings > Import > Photos (I’m not going to import Screenshots or Videos)

… the downside is that everything that goes into Camera Roll will be uploaded to LrC, the upside is that the process is automatic as long as you’e enable sync’ing in LrC. However, if you leave Sync’ing paused on the LrC desktop …

… you have the opportunity of deleting images from your Lightroom app on your phone before they are sync’ed up to the LrC chosen location …

… you can then Move the images to the chosen Folder in your catalog from the location you’ve sync’ed them to, deleting the ones you don’t want.

Step 2: The management step you then have to do periodically (eg when your Adobe Creative Cloud storage is nearly used up) is to open Lightroom Web on your desktop and delete all the images stored on Creative Cloud. You should also look to see if the Cache needs to be flushed in the Lightroom app on your iPhone … > App settings > Cloud storage & sync > Clear cache.

Use Case 3 – getting images from the Apple Photos to Google Photos to enable deletion of images.

One of the real issues, or problems, with Apple Photos is that deletion of an image in one place – the iPhone, iPad, Photos app, or iCloud Photos will delete it off all platforms. This may not be what you want. It’s therefore prudent to get the images off Apple Photos, or do a Backup, before you do any deletions. But there is another way.

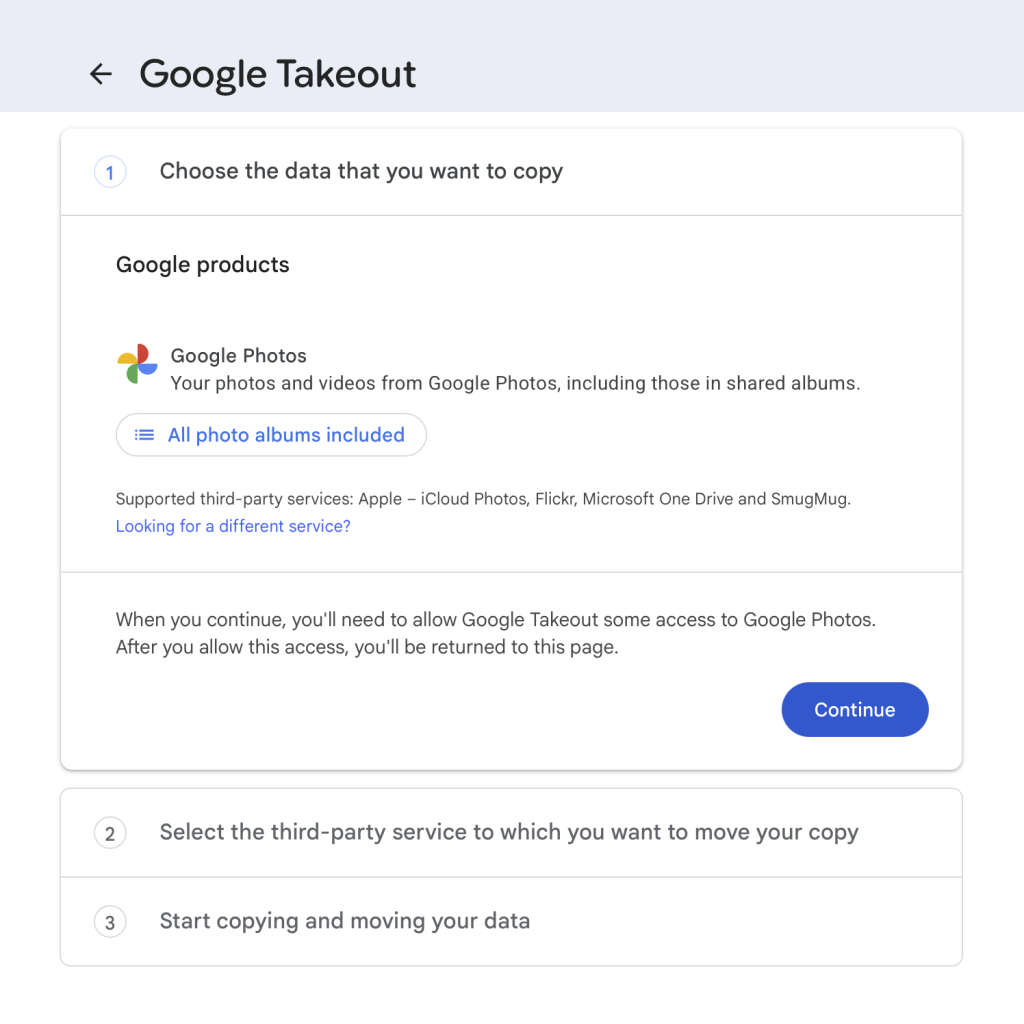
You can now go to Apple and request a transfer out of your data. This currently only allows you to transfer Photos and Videos from Apple Photos. Read about the process on the Google site and the Apple site. The process can take between 3-7 days to complete, but when it has finished you should have all the content from your Apple Photos Library in Google Photos. Google states that it will NOT import duplicates in this process.

You can then confidently and safely delete image from Apple Photos in the knowledge that they will still be accessible from the Google Photos website, or indeed be viewable in the Google Photos app on your phone – even if you’ve deleted the image from Apple Photos!!!!

You should only need to do this once if you’ve enabled Sync’ing from a named folder (see Use Case 1 above); and most importantly you don’t need to switch on Backup in the Google Photos app.

No doubt this will not be the last post on this topic, however it does appear that Adobe, Apple and Google are moving slowly towards allow inter-working. Watch this space for an API that will make everything so much easier. You may be waiting a long time however!!!

Addendum – Transferring Files from Apple Photos app on your Mac to Lightroom Classic.

This is a relatively easy way to transfer file from the Photos app on your Mac running MacOS directly into Lightroom Classic.

1 Open Photos on your Mac. Select LIBRARY (see image below)

2 Select images you wish to copy to your hard drive 

3 Right-click on the Selected Images and click EDIT WITH (see half way down the options shown) and look for ADOBE LIGHTROOM CLASSIC

4 If it is NOT shown (and that is probable as the default list has Adobe Lightroom – the Desktop version of the cloud-based software – in the list) you can add it by clicking ‘other’ at the bottom of the menu options (which opens a list of  programme apps on your computer) and you can then find Lightroom Classic and add it to the list of options.

5 Click that and it will open Lightroom Classic and it should take you direct to the IMPORT dialogue . 

6 Now click IMPORT and continue as normal 

Note:  

a) You can open any available programme app listed including preview. 

b) There are other ways to achieve the same result especially if you store your phone images in the cloud