It’s often useful to be able to send an image of your screen, or part of your screen to someone. In fact I use this facility all the time when creating these blog posts.
On the Mac, it’s very easy …
Press Cmd-Alt-3 to capture a complete screen
Press Cmd-Alt-4 to draw a window that you want captured
To be guided through the options you can
Press Cmd-Alt-5 and from the Options screen decider where you want to save your Screen shots [I save them to a Dropbox folder so they’re available between my two machines], and also choose the option for the type of screen capture you want, or even to Record a series of actions.
On the iPad/iPhone, it’s straightforward too. You can capture a screen by Pressing the Power Button and the Home Button together [It works best if you press the former just before you press the latter].
“It might be helpful for your notes if I run through my Windows 10 sequence. The relevant key on my laptop is labelled SYSRQ/PRTSC, so I have to press the ALT key at the same time to print the screen. This puts the image onto the clipboard, so I then have to save it somewhere. I usually go to Paint Shop Pro and paste it as a new image. One thing I am investigating is what happens if you have two pages at once on the screen. At the moment I can only print one of the pages, depending on which I click on.“
The only tool you need is a Posidrive #0 screwdriver for this laptop, I bought a set of six small screwdrivers made by Black & Decker some time ago; if you’re going to do more of this sort of thing, you might need to buy a more sophisticated toolset. I also attached an earth strap – just to show you how to the job properly – but to be perfectly honest I don’t usually bother.
But I’m jumping ahead. You first have to find out what upgrades you can do to your PC. I recommend using Crucial as the supplier of both RAM and hard disk upgrades. When you land on the site, you will see a screen something like this – it will change as new products are introduced …
… you click on Select Computer (you can download a tool to scan your computer, but that shouldn’t be necessary as all the information you need is usually on the bottom of the laptop) and supply the information required about your computer …
… and the following information should come up.
I’ve selected the Upgrade I want, but I’m also offered different DRAM memory choices, as well as SDD hard disk upgrades …
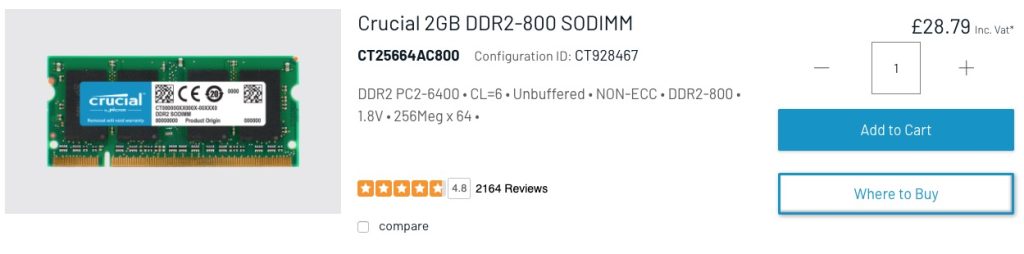
… from this I get the Part No. and then see if I can purchase it cheaper on Amazon – for old memory I usually can …
… so that’s saved £10. Now we turn to the removal of the old 1Gb DRAM module and the insertion of the new 2Gb module. Turn the laptop so that it’s back is facing upwards …
… take your screwdriver and unscrew the screws which are holding the back panel in place.
On this model the screws don’t totally come away from the panel which is great as there’s less likelihood of losing any of them. Unscrew them all, and slide the panel off …
… the DRAM is right in front of you on the left-hand side of this picture. All laptops have different layouts, but the DRAM modules are very easy to pick out! Next comes the first tricky bit (not really). You need to prise the two clips holding the module in place on either side of it. Here’s me prising one clip away …
… you have to do them together of course, but as I don’t have three hands … the module will pop out and swing upwards so that you can easily remove it, which you should do and place it on an electrically inert surface – just in case you have to put it back! You then get your new module and slip it into the space vacated by the old one at an angle. [My apologies – I should have taken a picture of this.] Most problems occur at this point as it can be tricky to insert the new module in firmly enough. You then gently push it down so that the clips re-engage with the module.
Nearly finished now. The new DRAM module is in place and you just have to replace the back panel, tighten the screws and hope that the new memory will be recognised when you boot-up the computer. You may be advised that the Memory Configuration has changed when you re-boot, just ignore this the first time you attempt to re-boot your computer. Check the memory has been recognised from the Windows System Panel …
… and you’re good to go. Any problems, first try and check the module has been inserted firmly and far enough into the slot, and then if necessary run the System Configurator when asked to when you boot up. I’ve never had to do the latter, I have had to unscrew the panel and re-insert the memory module though.
And that’s it. It took me about 10mins, but I have done it before. Still 30mins tops will see you with more memory in your old laptop and hopefully improved performance.