LrC on the move

An interesting question, and one that I’ve looked at more than once, and written about in another place …

Travelling with my camera and without my MacBook Pro [Updated]

… so you can see that I’ve considered what would be the best way for me to travel with LrC. What do I now consider the best way to take LrC with me when I’m on my travels. There are a number of alternative strategies, so there is no “best” way, just the way that matches best the way you want to work. Lightroom Queen and The Missing FAQ is a good place to validate any of the suggestions below, but as far as I can tell this list, partly assisted by a query to Perplexity is comprehensive.

Method 1. Use the Lightroom app on your laptop, part of your Adobe Photography Plan subscription, and synchronise to the cloud and then again to your main machine when you return home. This is by far the easiest solution and works as long as you don’t use up all of the 20GB cloud storage Adobe give you as part of the Plan. BUT … you do need to remember to delete the images when you’ve transferred them to your main machine – you can do this from the Lightroom app on your travel laptop, or from https://adobe.lightroom.com
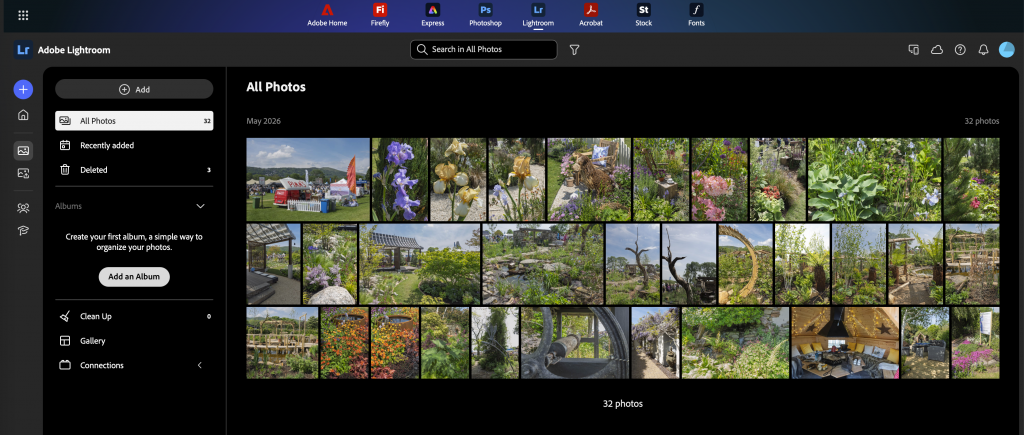
This web interface to Lightroom is quite possibly the least used one, but it it is very useful for the single purpose of clearing your cloud storage. Just remember however – you delete the images after the synchronisation from the cloud to your main LrC catalog has completed, and you’ve moved your images within LrC to the folders you want them to be in, from the Synchronisation Folder that you’ve created to receive the images from the cloud. More about this in the article cited above.

Method 2. You deploy a SSD like this one [click on image for further information] …

… to store a specific Trip Catalog with images taken so that you remain within the LrC application all the time. No additional interfaces to learn, just a relatively simple setup and refinement of workflow on your return. For this to be your solution of choice, you need to ask yourself – “Do I need access to my main catalog when I’m away from home, and most importantly – do I need to edit any images in my main catalog when I’m away from home.” If as I suspect (and certainly in my case) you don’t need to access your main catalog then this is the solution for you – and it reduces the weight you need to carry as well.

For this to work well, before you leave home, you need to setup the SSD with a file structure exactly the same as on your main machine and you need to create a NEW catalog on the SSD specifically for the Trip.
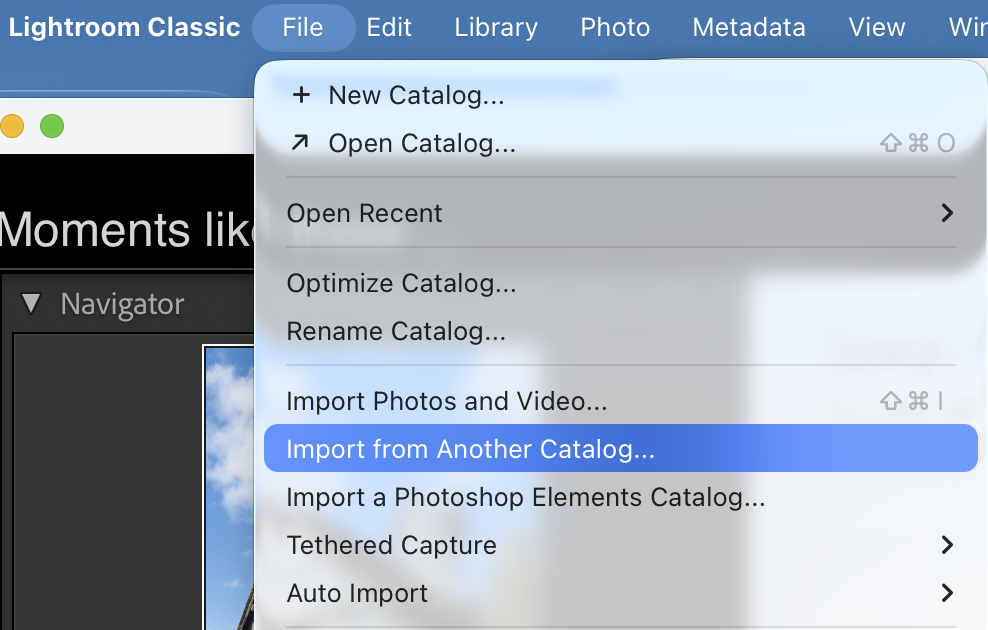
When you return from the trip, you open your main catalog and select Import from Another Catalog …
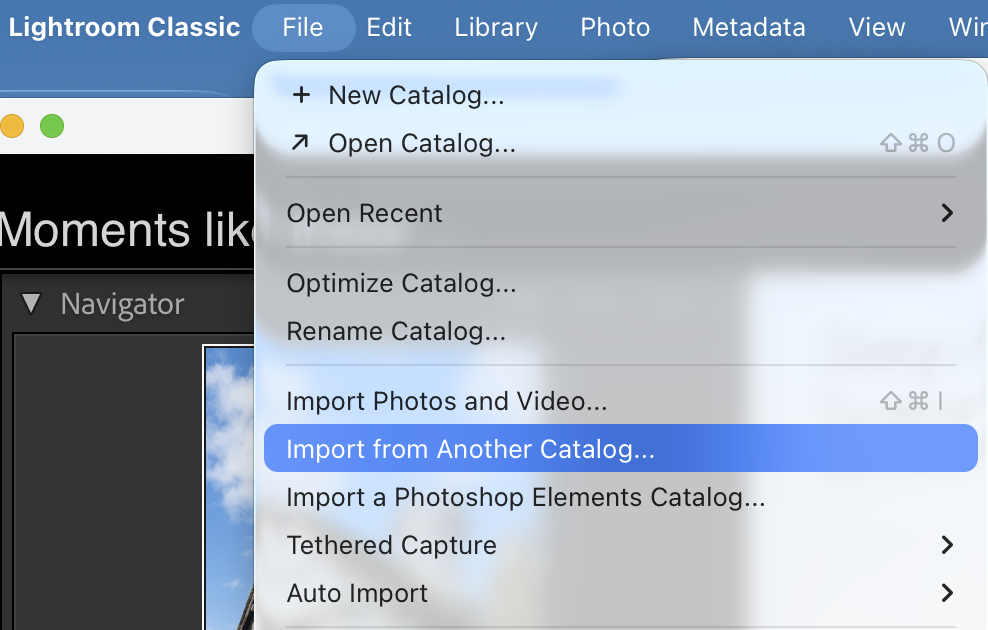
… if you’ve setup the SSD correctly the images will then transfer into their permanent home.

[NB It would be a good idea to test the setup before you leave home, so try importing some test shots into the SSD catalog, and doing a test Import]

A step by step guide to doing this (from Perplexity) is included as Appendix 1 below.

Method 3. This involves taking your existing SSD which holds all your images with you on your travels. [Do you really want to do this??? If you want to take images to show’n’tell it might be safer and kinder to your back to upload them to Google Photos and let them travel in the cloud!!] Perplexity shows how this can be done with a number of alternatives.

Alternative 1. Catalog and photos on same external SSD

The cleanest setup is to put both the catalog and the photos on a fast external SSD and use that single drive with both machine, so you’re always using the same catalog and never have to merge or sync later. [However, this will slow down response to the catalog when working on main machine. This is the way I used to work, but I changed to using Method 2.]

Goal: one external SSD that contains:

  • The main Lightroom Classic catalog (.lrcat and its previews)
  • All original photos (existing and new)

That external drive is then:

  • Plugged into Laptop 1 at home
  • Plugged into Laptop 2 when travelling
  • Opened with the same catalog file on both machines

This avoids all “import from another catalog”, XMP sidecars, manual sync, etc. Everything just follows the drive. A Step by Step guide to setting this up (from Perplexity) is included as Appendix 2 at the bottom of this post.

NB Backups and safety

With a portable library drive, backups are critical:

Never travel with the SSD as the only copy; ideally keep another copy at home.

Enable catalog backups in LrC and set the backup location to a different drive (e.g. each laptop’s internal disk or a second backup disk), not the travel SSD itself.

Back up the Photos folder on the SSD using Time Machine, cloning software, or another external drive.

Alternative 2: catalog on laptop, photos on external

If you’re worried about the catalog on an external drive disconnecting mid‑write (a small but real risk), another common pattern is:

  • Photos on the external SSD (shared between laptops)
  • Catalog on each laptop’s internal disk

However, this requires:

  • Either import/export catalog when moving work between laptops, or
  • Deciding that only one laptop is the “master” and the other is just for temporary travel catalogs that are merged later via “Import from Another Catalog”.

That’s more admin but can be a bit safer from a catalog‑corruption perspective. It sort of gets close to the suggested preferred Method 2 (above).


Appendix 1.

Overall idea
  • Home machine
    • Contains the main Lightroom Classic catalog and the long‑term photo storage.
  • Travel laptop
    • Uses a temporary catalog for the trip only.
    • Stores RAWs either on its internal SSD or on a dedicated “travel photos” external drive (or SSD) during the trip.
  • After the trip
    • Use File → Import from Another Catalog on the home laptop to pull in all new images and edits from the trip catalog.

This way:

  • The main catalog never leaves the home machine.
  • All culling, rating, edits applied on the trip are preserved when merged.

Before the trip (one‑time prep)

On the home machine (with the master catalog):

  1. Make sure the folder structure and backup strategy are solid (master catalog and photos clearly organised and backed up).
  2. Decide where trip photos will end up long‑term (e.g. into a dated structure on a photo drive). He’ll need that when he imports the trip catalog later.

On the travel laptop:

  1. Install Lightroom Classic (ideally same major version as home laptop).
  2. Decide where to keep travel images:
    • Either on the laptop’s internal SSD, or
    • On a small external SSD dedicated to travel (good for capacity and backup).
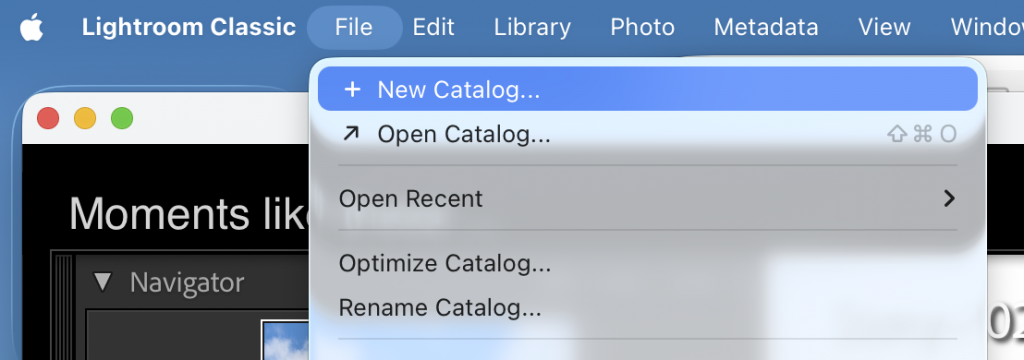
  3. In LrC on the travel laptop, create a new catalog for the trip:
    • File → New Catalog.
    • Name it something like Italy_2026 and save it in a folder like Pictures/Lightroom/Italy_2026/ on the travel laptop or on the travel SSD.

That catalog folder will contain:

  • Italy_2026.lrcat
  • Italy_2026 Previews.lrdata
  • Possibly Smart Previews.lrdata (if you build them)

During the trip

On the travel laptop:

  1. Always work in the trip catalog (e.g. Italy_2026.lrcat).
  2. Import cards into LrC with photos going either:
    • To a trip folder on the laptop (e.g. Pictures/Trips/Italy_2026/), or
    • To Trips/Italy_2026/ on the travel SSD.
  3. Do normal work:
    • Cull, rate, flag.
    • Apply develop edits, presets, crops, local adjustments.
    • Add basic keywords, collections, etc.
  4. Have a backup routine while travelling:
    • Keep the images on SD cards until there are at least two other copies (laptop + external drive).
    • Optionally use a second external drive or cloud backup if bandwidth allows.

No syncing with the home catalog happens while travelling; you just work in the trip catalog.

When you return home

Goal: bring the whole trip into the master catalog on the home machine, including all edits and metadata.

1. Move the trip catalog and photos to the home system

Pick one of these:

  • If the photos and catalog are on a travel SSD
    • Plug the SSD into the home laptop.
    • Make sure you can see the trip folder structure and the Italy_2026.lrcat file.
  • If everything is on the travel laptop’s internal SSD
    • Copy the entire trip folder (containing the catalog and its photo folders) to an external drive, then copy that to the home machine, or directly into the home photo drive.

Key point: keep the folder structure intact – don’t separate photos from their trip catalog yet.

2. Import from the trip catalog into the master catalog

On the home machine:

  1. Open the master catalog.
  2. Go to File → Import from Another Catalog….
  3. Navigate to the trip catalog file, e.g. Italy_2026.lrcat, and choose it.
  4. In the import dialog:
    • Make sure All folders are selected (unless you want to exclude some).
    • Under File Handling, choose:
      • Copy new photos to a new location and import – then choose the permanent photo location in the main library (e.g. the usual dated folder structure on the main photo drive), or
      • Add new photos to catalog without moving – if you want to keep them exactly where they are on a photo drive that’s already part of the long‑term storage.
  5. Click Import and let Lightroom:
    • Copy/move the RAW files to the chosen main‑library location (if you selected copy/move), and
    • Bring in all metadata, flags, ratings, edits, virtual copies, collections, etc. from the trip catalog.

Now those images are fully part of the master catalog, as if they’d always been imported there.

3. Clean up after merging

Once you have confirmed that:

  • All trip images are visible in the master catalog, and
  • The files are in the expected folders and backed up,

you can:

  • Optionally archive or delete the trip catalog folder (Italy_2026.lrcat and its previews) from the laptop/SSD, keeping it only if you want a belt‑and‑braces backup.
  • Free up space on the travel laptop by removing the local copy of the RAWs (as long as the master library and its backups look good).

Appendix 2.

Step‑by‑step setup for Catalog and photos on same external SSD

Assuming your current situation is:

  • Machine A (heavier laptop), or desktop: LrC catalog on internal disk, photos on external drive X
  • Laptop B (lighter): LrC installed, but no catalog yet
1. Choose and prepare the travel drive
  • Get a fast external SSD (e.g. 1–2 TB, USB‑C/Thunderbolt).
  • Format it in a compatible file system both machines can read/write (APFS if both Macs; exFAT if any Windows involved).

On that drive create two top‑level folders, e.g.:

textLightroom Library/
  Lightroom Catalog/
  Photos/
2. Move the photos onto the new SSD (if needed)

If your existing images are already on a suitable external SSD and you’re happy to keep using that as the travel drive, you can skip this move and just standardise the folder layout.

Otherwise:

  • From Machine A, copy the existing photo folders from the current external drive to Photos/on the new SSD using Finder/Explorer.
  • When done, in the old catalog on Machine A, use Library > Find Missing Folder / Update Folder Location to point Lightroom to the new drive location so the existing catalog now sees the photos on the new SSD.

At this point:

  • Old catalog (still on Machine A’s internal disk)
  • Photos now on the new travel SSD (Photos/)
3. Move the catalog to the SSD

From Laptop A:

  1. Quit Lightroom Classic.
  2. Find the current catalog folder (the .lrcat file plus the Previews.lrdata and Smart Previews.lrdata).
  3. Move that entire catalog folder to Lightroom Library/Lightroom Catalog/ on the SSD.
  4. Double‑click the .lrcat file on the SSD to open it. Lightroom will now run that catalog from the external drive.
  5. In Preferences → General, set “When starting up, use this catalog” to this catalog, if desired, so it becomes the default on each machine.

Now:

  • Catalog and previews live on the SSD
  • Photos live on the SSD
  • Machine A is using the SSD catalog
4. Connect and use with Laptop B (travel laptop)

On Laptop B:

  1. Install the same Lightroom Classic version (or as close as possible).
  2. Plug in the SSD.
  3. Double‑click the same .lrcat file on the SSD (Lightroom Library/Lightroom Catalog/...).

The catalog will open and should show all the same folders and photos because the drive path and structure are identical.

From now on, you always:

  • Connect the SSD
  • Start Lightroom by opening that .lrcat
  • Imports new photos directly to Photos/ on the SSD (set the Destination on import to the SSD), whether at home or travelling
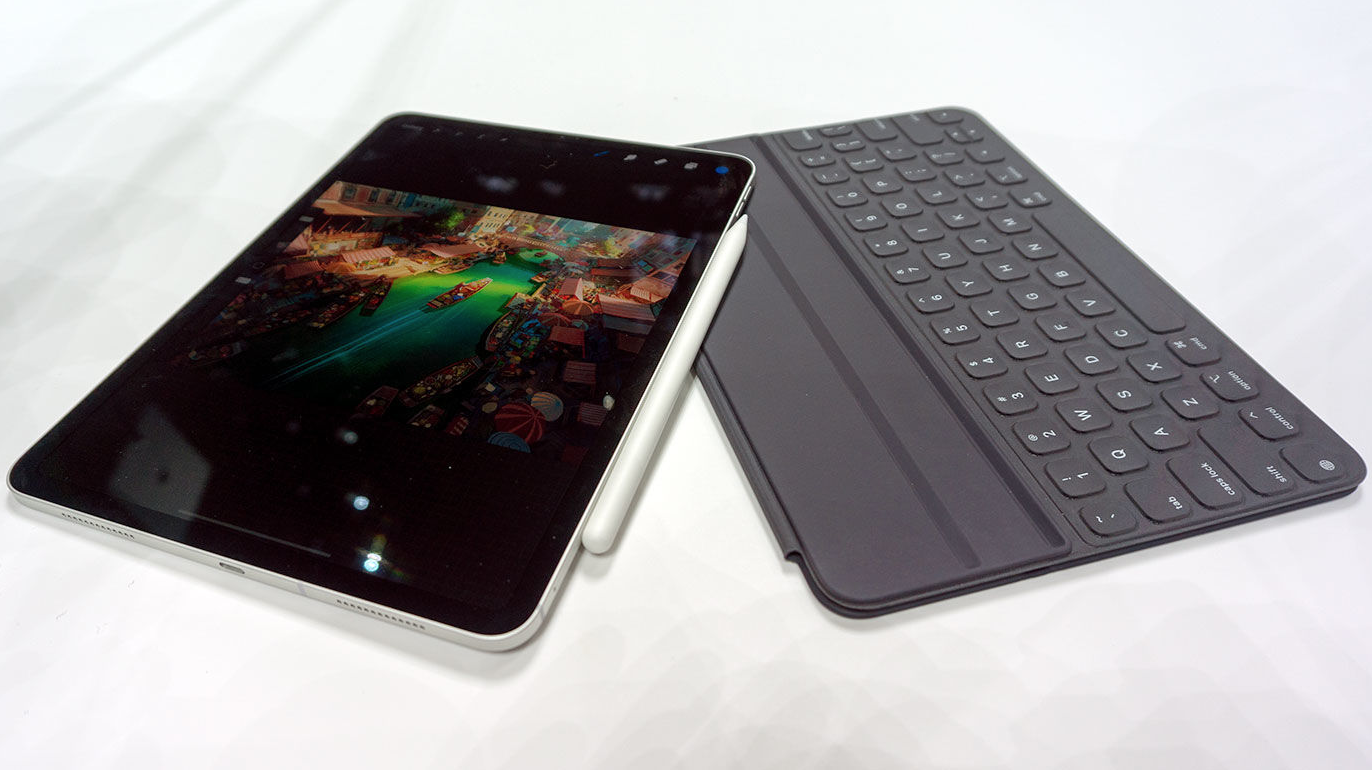
My simplified (dummy’s) guide to getting images from Lightroom (Lr) into Lightroom Classic (LrC)

[Originally posted 20th December 2020;
Revised 12th April 2021
]

I’ve lost count of the number of posts on the subject of Workflow and Lightroom, Mobile and Classic (see links at the bottom) … and I’m still not using Lightroom (as opposed to Lightroom Classic – the desktop version)! That may, or may not, be a failing in me; it may be a failing in my understanding of whether I can actually find a place for Lightroom (the mobile cloud version) in my workflow. However, I’m determined to find out whether I’m missing out on something that might be useful, especially in the context of new Apple hardware. I’m talking now not just about the iPad Pro, but also the possibilities of benefiting from the M1 Chip in the new MacBook Air and MacBook Pro, as well as whether my iPhone 12 mini can be part of the workflow.

It occurred to me that with my MacBook Pro (mid-2012) beginning to show it’s age (trackpad failing), and with my experiments with my iPad Mini and iPhone 6s with the Lightroom app not exactly being a resounding success, that perhaps, just perhaps, technology had moved on and I would have to move on with it! When you add to this, that a native Lightroom (Lr) for the M1 Chip (to be followed later admittedly by Lightroom Classic) was to be released then I began to wonder whether I really needed Lightroom Classic (LrC) on a laptop, especially when benchmarks seemed to be showing that you didn’t need so much memory with the M1 Chip to do anything – other than for video editing. So to be “ahead of the curve” perhaps I needed to introduce Lr into my Workflow not as a replacement to LrC but as a stepping stone. So here goes … I will describe my proposed Workflow [revised 12th April 2021] as a number of Use Cases.

Importing images from my camera to Lightroom (Lr).

I could link the Sony A7rIII to Lightroom on iOS/IPadOS using wireless, or buy a cable to join the two, but to be honest it’s fiddly and as I have a Lightning to SD-Card dongle, it’s easier to just eject the card from the camera and insert it in the slot of the dongle.

I purchased the iPhone 12 mini with 256Gb RAM to allow the possibility of adding images from the camera, but also more importantly to enable the use of the Lightroom camera on the phone. We’ll deal with that Use Case later.

I need to make sure a few things are setup on my iPad – my chosen device to import photos into Lightroom (Lr).

  1. I’ve created an album which I’ve called Sony to Classic Sync – this is the album I’m going to later synchronise with Lightroom Classic (LrC). I don’t enable Auto Add from Camera Roll – I don’t want anything seeping into the sync process that is outside manual control. I might decide to setup Albums for a special shoot/event/trip as an alternative to this album if that seems more appropriate, but I will use this album as the default one for syncing to the cloud and on into LrC.
  2. I check the Cloud icon and make sure that Syncing has been Paused – again I don’t want syncing to take place until I’m ready! Having done both of these and having inserted the dongle into the iPad …
  3. I go to my chosen Album (see 1 above) and Select – Add Photos, and Choose – From Files (this is the source Location for the images to be imported). I will then Browse to the Named SD-Card (it may appear in the list of possible Locations as “NO NAME”).
  4. Click then down through the folders (eg DCIM > 100MSDCF) to get to the images and click on Select. Either click on Select All, or select individually the images you want to Import. Click on Done to start the import process. The images should appear in the Album you’ve chosen.

At this time the images have only been imported into Lightroom (Lr) on the iPad – if they are RAW images, that is what will have been imported. You can Select, Edit and Delete, add some Metadata such as Title, Caption and Keywords and Rate your images – you can’t apply Colour Labels. At this moment, the images will not have been synced to your Adobe Cloud account – that comes later!

Taking photos with my iPhone and syncing them to Lr

There are two Use Cases here. One where you are using your iPhone to just quickly take “snaps”; the other where you intend to do some post-production in Lightroom Mobile on the iPad, or after syncing to Lightroom Classic.In the first case you use the iPhone’s Camera app (which will if you’ve set things up in the right way upload the images to Apple’s iCloud, and /or Google Photos); in the second case you will use the Lr Camera rather than the iOS Camera to take the photos. Let’s deal with both cases …

Using the iOS Camera App and Camera Roll

After you’ve taken the photo it will appear in Photos your Camera Roll.

These are the settings I use to save the image to my iCloud account and to be able to see them on my other Apple devices as well …

If you want to have them uploaded to Google Photos as well, you need to open the Google Photos app, click on your icon in the top right-hand corner of the screen, and then firstly select Photos settings …

… and then enable Backup and sync from the Backup and sync screen as well as making a decision of the size of image you want uploaded, as well as whether you want to use mobile data to do the upload (I choose not to, just doing uploads when connected to WiFi).

You will now have the images accessible to you should you wish to Add photos from Camera Roll in the Lightroom Mobile app.

I have chosen to create an Album (a Collection in Lightroom Classic) which will Auto Import from Camera Roll when Sync is switched on …

… but I’ve also chosen to only Import Photos, not Screenshots or Videos – I don’t want, or need, them in Lightroom Classic …

… you should make your own decision about the RAW Default Settings.

So, if I take a photo with the iPhone Camera app it will automatically appear in the Lightroom Mobile Album – “Camera Roll to Classic Sync”.

You will notice (hopefully), that I’ve Paused Sync, so that anything added from the Camera Roll will not be Synced to Lightroom Classic.

It might be a good idea to NOT “Use Cellular Data” and to Enable “Only Download Smart Previews” – the latter is important because Smart Previews DON’T count against your Storage Quota on Adobe Cloud.

What I tend to do at this stage, or at least before I select “Resume Syncing”, is to go into the “Camera Roll to Classic Sync” album and delete the images I DON’T WANT to Sync to Lightroom Classic.

Using the Lightroom Mobile app (on iPhone or iPad)

The Lightroom camera app is much more sophisticated than the basic iPhone Camera app, so using it as a camera when you intend to include the image in your Lightroom Classic Catalog with, or without, post-processing is a Use Case you should seriously consider.

If you do this then the shots you take will appear under the Library > Lr Camera Photos menu in the Lightroom app …

… from there it’s relatively easy to …

  1. Go to the ellipsis icon “…” click on “Select“;
  2. Select the images you want to sync, and then
  3. Click on “Add To” which appears at the bottom of the screen when you start selecting images, and then
  4. Choose the Album you want to synchronise – usually in my case the one entitled “Lightroom Camera to Classic”.

You’re now ready to Sync

It’s relatively straightforward now to go to the Cloud icon and select Resume Syncing. You will see the progress of the syncing which for a lot of large RAW images can take quite a bit of time.

When the Synced and Backed Up checkbox has a tick in it – the import has finished, I will then click on Pause Syncing so that I don’t get inadvertent syncing taking place.

[NB I don’t want, or need, Adobe Cloud to provide a Backup for my images – if I’m importing from my cameraI I won’t delete anything from the SD-Cards until I’m confident I have the images I want imported into Lightroom Classic (LrC) – which has it’s own Backup arrangements.

If I’m syncing from the Camera Roll on the iPhone there will be copies in the Photos and Google Photos apps – “in the cloud”. ]

At this point you could check the synchronisation has gone to plan by starting-up Lightroom (Lr) (NOT Lightroom Classic) on your desktop/laptop. This will grab the images that are in Adobe Cloud and present them in a similar fashion to the iOS/iPadOS interface …

[NB Lightroom (Lr) can only sync with one Lightroom Classic (LrC) catalog, so you need to remember this when selecting your Catalog, or use that fact to your advantage if you don’t want to sync with Lightroom (Lr). You could do that by using different catalogs for synced and non-synced images.]

Preparing to Sync Lightroom (Lr) with Lightroom Classic (LrC)

In the same way that I want to do the upload to Adobe Cloud manually, and not have automatic syncing going on …

  1. I need to make sure that the “normal” setting for the Cloud icon in Lightroom Classic (LrC) is “Sync Paused” – unfortunately the Default setting is to have Sync Active.
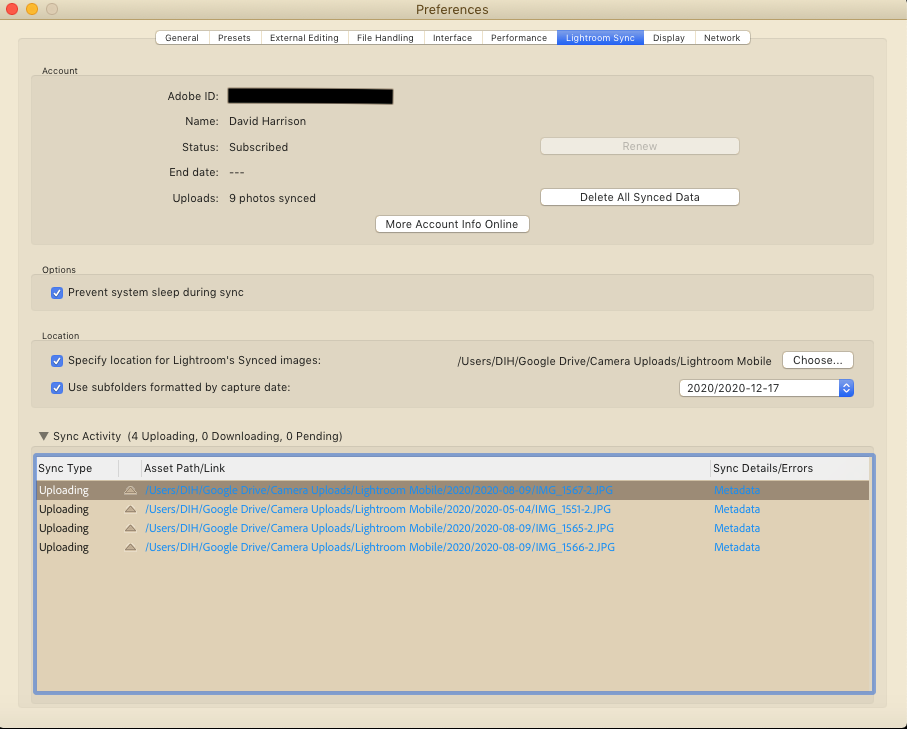
  2. I need to provide Lightroom Classic (LrC) with information on what I want it to do with the images it’s going to import from Creative Cloud. You do this from the Lightroom Classic > Preferences … > Lightroom Sync page. You can see from the image below I’ve decided to Upload Images (using Lightroom Sync) to a folder on my local Google Drive, and to put them into Sub-folders by year and date …

[NB Since writing this, I have changed the Specified Location to be the actual folder that I want to store the images in; hence removing the need to move the images mentioned below.]

Syncing and what happens next

Once I’m confident that I’ve got Lightroom Classic (LrC) set up and ready to receive images from Creative Cloud, I can go to the Cloud icon and click on “Resume syncing“.

The album(s) I’ve created in Creative Cloud – and this can be either those on an iOS/iPadOS device OR Lightroom (Lr) on the desktop/laptop – will now be synced to Lightroom Classic (LrC).

The Albums from Lightroom (Lr) will appear in Lightroom Classic (LrC) as Collections, and the images will appear in the folder(s) that I determined in the previous step.

I can identify the Synced Collections (Albums from Lightroom (Lr)) by clicking on the magnifying glass under the Library > Collections menu …

I can see the images have been uploaded by looking at the Folders menu …

What I need to do now is Move the Images from the folder I stipulated on the Preferences page to their permanent home in my Images dataset. This I do and can only do within Lightroom Classic – you must never do this outside Lightroom Classic (LrC) because if you do, the LrC Catalog will lose the information of where the image resides in your file structure. For example …

[NB As mentioned above, I now upload the images to the folder I want them to be in, thus meaning I don’t have to move them.]

Now that I’ve got the images where I want them in Lightroom Classic (LrC), I need to stop the Collection (Album) syncing back to Lightroom (Lr) should I do any changes to the image – which I undoubtedly would. I thus click on the two-way arrow next to the Synced Collection …

… read the warning message, and click on “Stop Syncing“. You will then notice that the two-way arrow has become a check box …

… all that remains is to delete the images from Adobe Cloud, this can be done either from the desktop/laptop application, or from the iOS/iPadOS apps. It would probably be a good idea to move these collections that had been synced to a logical place in your Collections hierarchy before the next step if you want to keep them.

Deleting the images from Adobe Cloud will release some of your valuable storage space on your mobile device but will not delete them from Lightroom Classic (LrC), only from the Synced Collections. [See article referenced below.]

You can choose to Remove the Photos from a Synced Collection, but leave them in All Synced Photographs. This will enable you to move them to a different Local Collection, should you wish – if you haven’t already moved them as I suggested a couple of paras before…

In all cases however the images won’t have been removed from their Folders in your Images dataset, only from Collections …

The folders are unchanged after images have been removed from Synced Collections.

… and that’s about it, until I think of something else 🙂

For more information on Syncing to Adobe Cloud I suggest you look at this article and for further information on how to Remove photos from Adobe Cloud sync, I suggest looking at this article.

Other links

Lr Mobile – moving on! (March 2020)

Lightroom on the move – biting the bullet (February 2020)

Lightroom Workflow (2019) (October 2019)

Travelling with my camera and without my MacBook Pro (May 2019)

Lightroom CC (iPhone) working with Lightroom Classic CC (September 2018)