Following up from my earlier post which covered uploading images from your mobile device, or camera, to Google Photos; this post picks up from the point where the images have been uploaded and gives you an idea of what simple editing you can do to your photos. This Google article with separate tabs to follow for Computer (browser-based), Android and iOS (iPhone/iPad) sets out the scope of the things that you can do. For this post I’m only looking at what you can do on a Computer, from your browser.
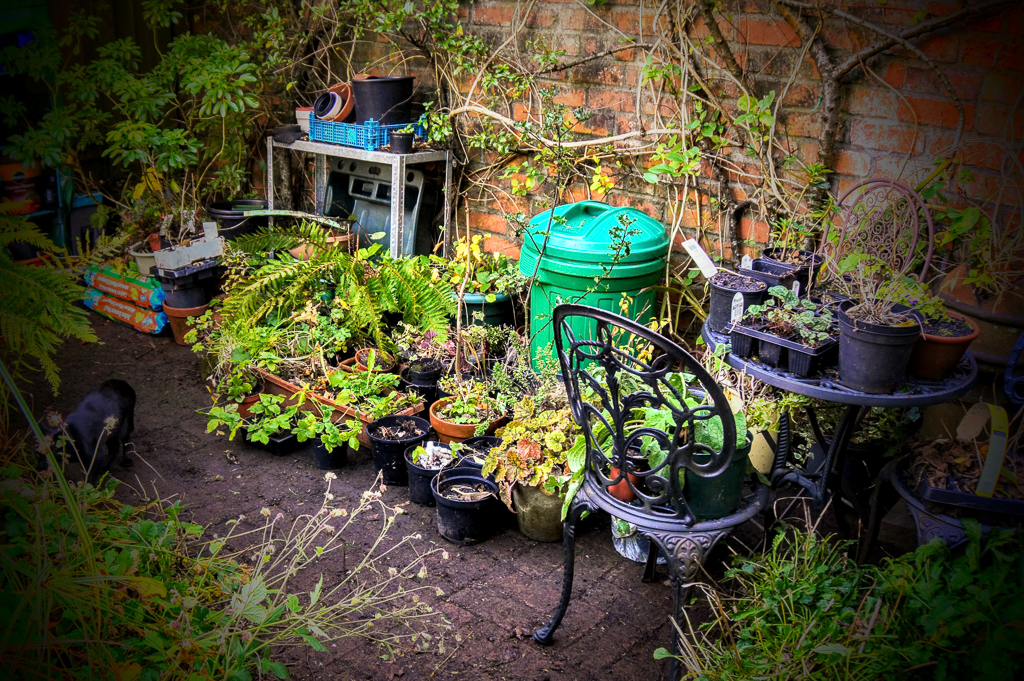
What I’m going to do is to take the “featured” image from the earlier post and show a few screenshots of things that I have done to it, perhaps to improve it – although that might be rather difficult as it’s a rather boring subject. So here’s the original photo (unedited), taken with my Sony NEX-6 camera and stored onto its SD-card and then uploaded into Google Photos, using the SD-card reader on my computer.
Let’s crop it a bit to get rid of the spade handle. First I double-clicked on the image in my Google Photos pictures at https://photos.google.com and this menu appeared …
The first icon  allows you to Share the Image, the second icon
  to Edit the Image, the third to Enlarge (or Zoom) the Image, the fourth to get Info on the Image, the fifth to Delete the Image and the sixth
  gives you More Options. I clicked on to Edit the Image.
Another window opens to show you this …
… you’re being offered a range of filters  which you can apply to change the appearance of your image. I’m not going to use this option preferring to do it manually, but I’d encourage you to have a quick peak at what automatic enhancements can be made to an image from this selection of effects. For the moment I want to do a crop (change the viewing window of the image), so I’m going to click on the
  icon to Crop and Rotate.
On this screen, the first icon allows you to select the Aspect ratio of the image you want (as shown above). Selecting one of these will apply an automatic crop. The second icon allows you to Rotate the Image. You can then drag the corners or edges of the image now to crop to exactly the form of the image that you want to keep. The third icon allows you to Reset your edits to start again, and Done is clicked when you’ve finished editing. So in this case, I want to keep the Original aspect ratio and just get rid of the spade handle manually ..
… so I drag up from the bottom right-hand corner, and down from the top left-hand corner to get the cropped window on the image above. I can move the crop window around the image by clicking and dragging on it until I have it just the way I want it. I could also finely rotate the image if I thought I’d not got it completely straight by clicking and dragging on the slider on the right-hand side of the image. So, having done this, I have an image I want to work with so I click on Done and I get returned to the Edit window …
… you can see I have the choice of changing the Light, Colour and Pop (sharpness) of the image. By adjusting these sliders I could arrive at something like this …
… but even finer changes can be made by clicking on the arrow against each of these elements and adjusting individual components, so I could end up with changing the Light a little and adding a Vignette to the corners with some Warmth from the Colour slider to give me this …
Now I know I’m biased, but I think that this almost becomes a reasonable picture. All you need to do is to select Save Copy from the More Options menu, return to the Photos by pressing on the Return arrow in the top left-hand corner of the screen and you can see the new processed image next to the original.
What do you think?