
You’re running out of storage space on the 15Gb integrated – Gmail, Calendar, Drive cloud storage that you got for free. You could of course create another Google account and have another 15Gb, or you could pay Google £24.99 pa for 200Gb – but that’s quite possibly too much storage.
What if you already have an Apple iCloud account? You might be paying for the iCloud+ 50Gb option which costs you £0.99 pm, or you might consider subscribing to it if you’re not – it’s available for Windows as well as Apple devices. [You might also consider whether it’s worth looking at the Apple One Plan and get Apple Music and Apple TV as well.]
But what if you have both a free Google account, and an Apple iCloud account? Might it be worthwhile considering moving your Photos to Apple iCloud to leave space on Google cloud for your Gmail, etc.
Here’s some directions on how to do exactly that …
Specific instructions on how to transfer photos from Google Photos to Apple iCloud Photos
The simplest method is Google’s direct transfer service: it copies your Google Photos library straight into iCloud Photos without downloading it first. Your originals remain in Google Photos, so do not delete anything there until you have checked the import.
Before you start
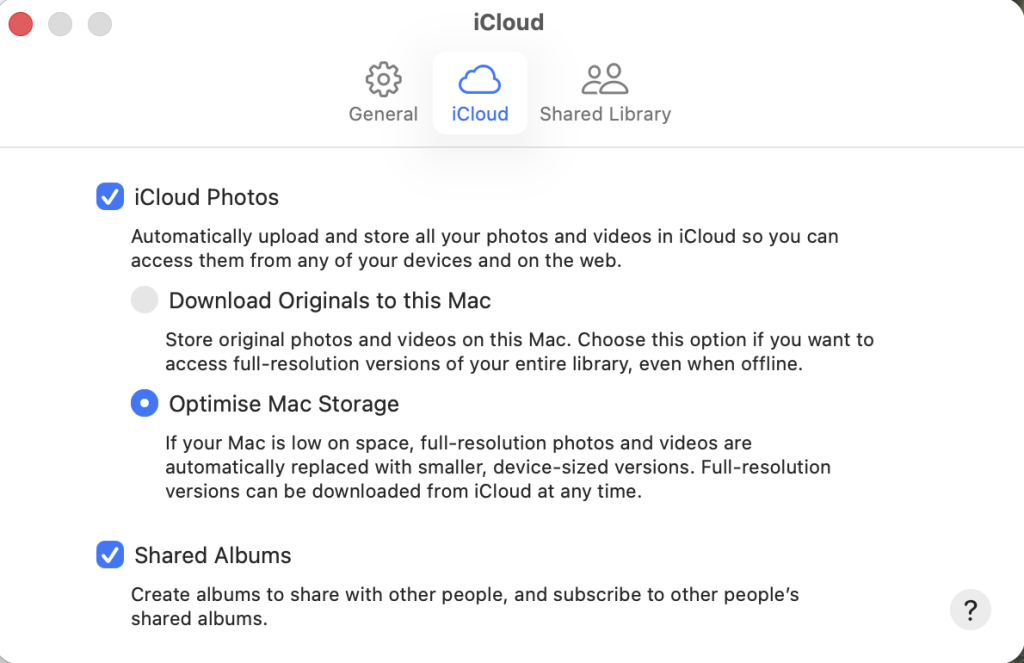
- Check iCloud space: Open Settings > your name > iCloud on an iPhone/iPad, or System Settings > your name > iCloud on a Mac, and make sure your iCloud plan has enough free storage for the items you intend to copy.
- Enable iCloud Photos: Turn on iCloud Photos (shown as Sync this iPhone on iPhone) and also enable iCloud Drive.
Choose the option above that you’re most happy with. On your new Mac I guess that storage isn’t a problem. - Temporarily turn off Advanced Data Protection, if enabled: Apple does not allow this import while Advanced Data Protection for iCloud is active. You can re-enable it after the transfer is finished. [This shouldn’t be an issue, as it’s not allowed in the UK.]
- Use a personal Apple Account: the service is not available for child accounts or Managed Apple Accounts.
Start the transfer
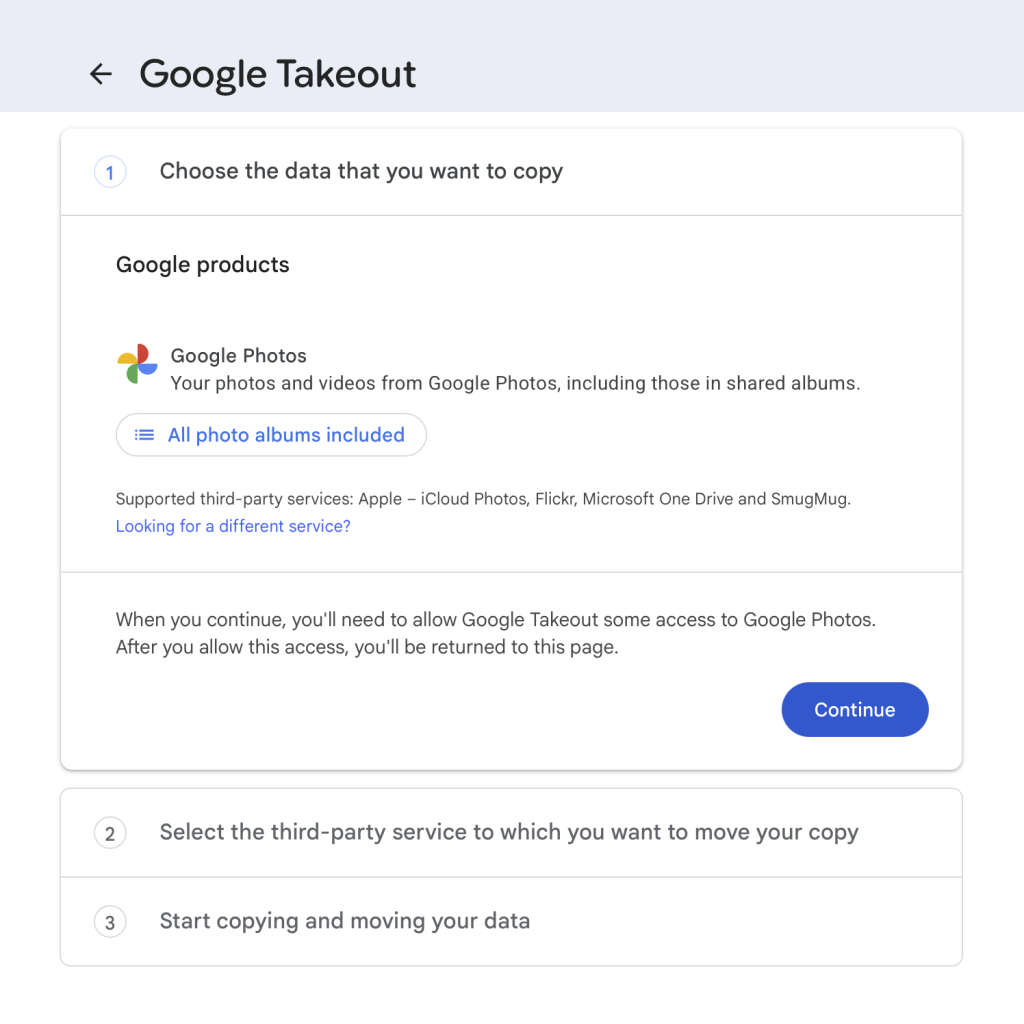
- On a Mac, iPad, or iPhone, open Google’s transfer page: https://takeout.google.com/takeout/transfer/custom/photos.
- Sign in to the Google account that contains the Google Photos library.
- Under the Google Photos selection, choose whether to transfer all albums or open All photo albums included and untick any albums you do not want.
- In the Move to or destination menu, select Apple – iCloud Photos.
- Select Continue.
- Sign in to the Apple Account that owns your target iCloud Photos library.
- When Apple asks for authorisation, select Allow so Google can add the photos and videos to iCloud Photos.
- Read the confirmation screen, then select Agree and continue to submit the request. Apple will email the addresses associated with your Apple Account when the request begins and when the import completes.
Check the imported library
The job may take from several hours to several days, depending on the library size. Once it has completed, look in Apple Photos for an album named Import from Google, dated for the transfer; check that a sensible selection of early, recent, edited, and video files are present before treating iCloud as your only copy.
If expected items are not in Photos, look in iCloud Drive for an Import from Google folder bearing the transfer date. Apple says that unsupported items, including RAW files, are placed there rather than imported into iCloud Photos.
Important limitations
- The transfer copies rather than moves your media: it does not remove the Google Photos versions.
- JPEG, HEIC, PNG, GIF, TIFF and BMP images, plus most MP4 and MOV videos, can transfer to iCloud Photos; Google-exported RAW files go to iCloud Drive instead.
- Basic associated metadata, including filename, description, type and location, transfers with the original media file.
- Do not turn off iCloud Photos while it is running: Apple says this stops the import, and you would need to re-enable it and submit a new request for the remainder.