Seems a pretty easy question to ask. Should be a relatively easy question to answer. Wrong! It’s a minefield of complication and you can quite easily find yourself deleting images from places you don’t want them to be deleted from. In this article I’m not going to even attempt to enter the minefield but after this easy one …
How do you delete photos from Google Photos on the web but not from the Camera Roll on your iOS (iPhone/iPad) device …
Google Photos will only delete photos from your Camera Roll if you grant it permission to do so. If you delete from https://photos.google.com/ and then go to your phone app you will have an assistant card asking for permission to “Remove it from this device” If you dismiss the card the photo will remain in the Camera Roll.
… I’m just going to refer you to these three articles …
First the generic article that covers all eventualities and takes into account the place of Backup and Sync in the process for the Android world …
How to delete Photos from Google Photos but Not from Phone
… note the important piece of text in this article …
“While keeping a file on Google Photos and deleting it from a device is easy, it’s not simple to do so the other way round. When you delete a synced photo from the Google Photos app, it gets wiped from your phone and the cloud storage.”
… so take care and read what follows in that article.
For the iOS (iPhone/iPad) world …
How to Delete photos from iPhone but Not from Google Photos
… so heaven help you if you’ve got both Android and iOS devices; the process is not the same for both!
Lastly, and to fully understand what’s going on, it’s important to perhaps try to understand how Google Photos actually works. You can do this by reading this article …
What happens when you Delete photos from Google Photos.
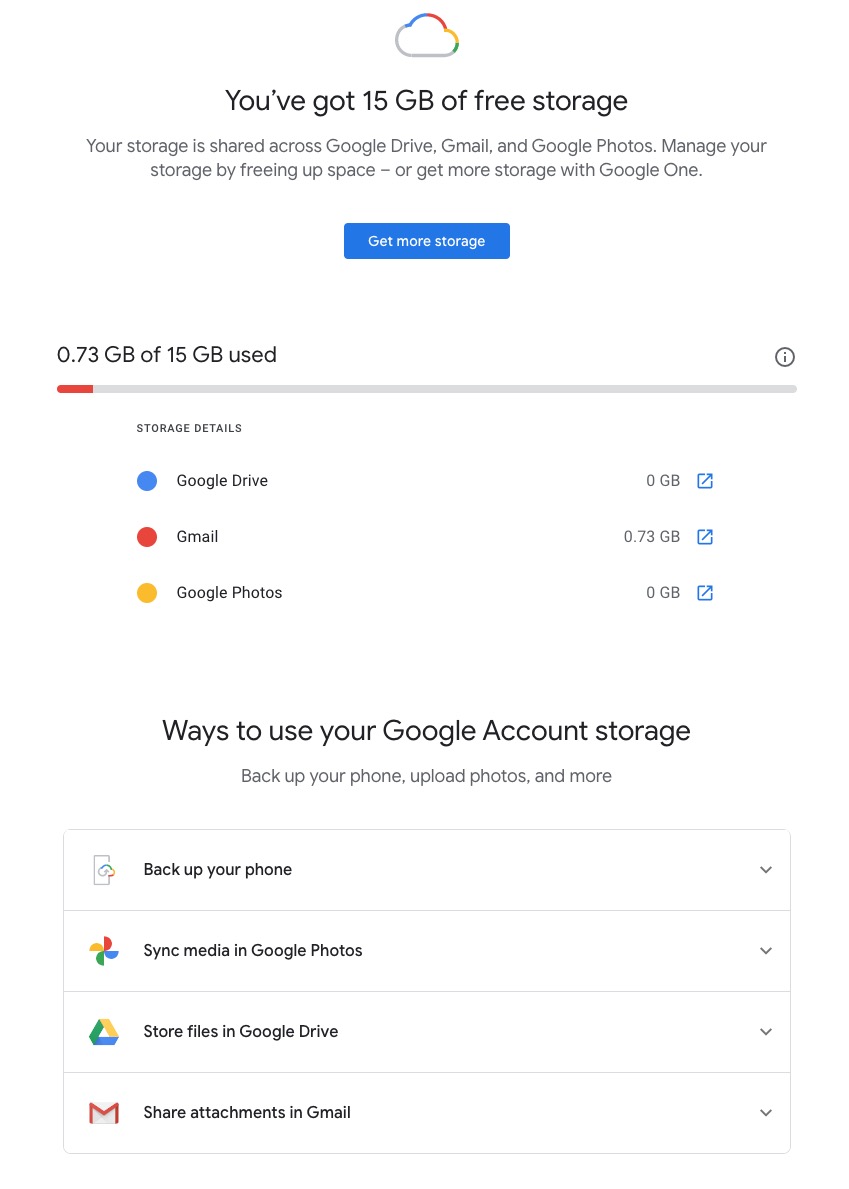
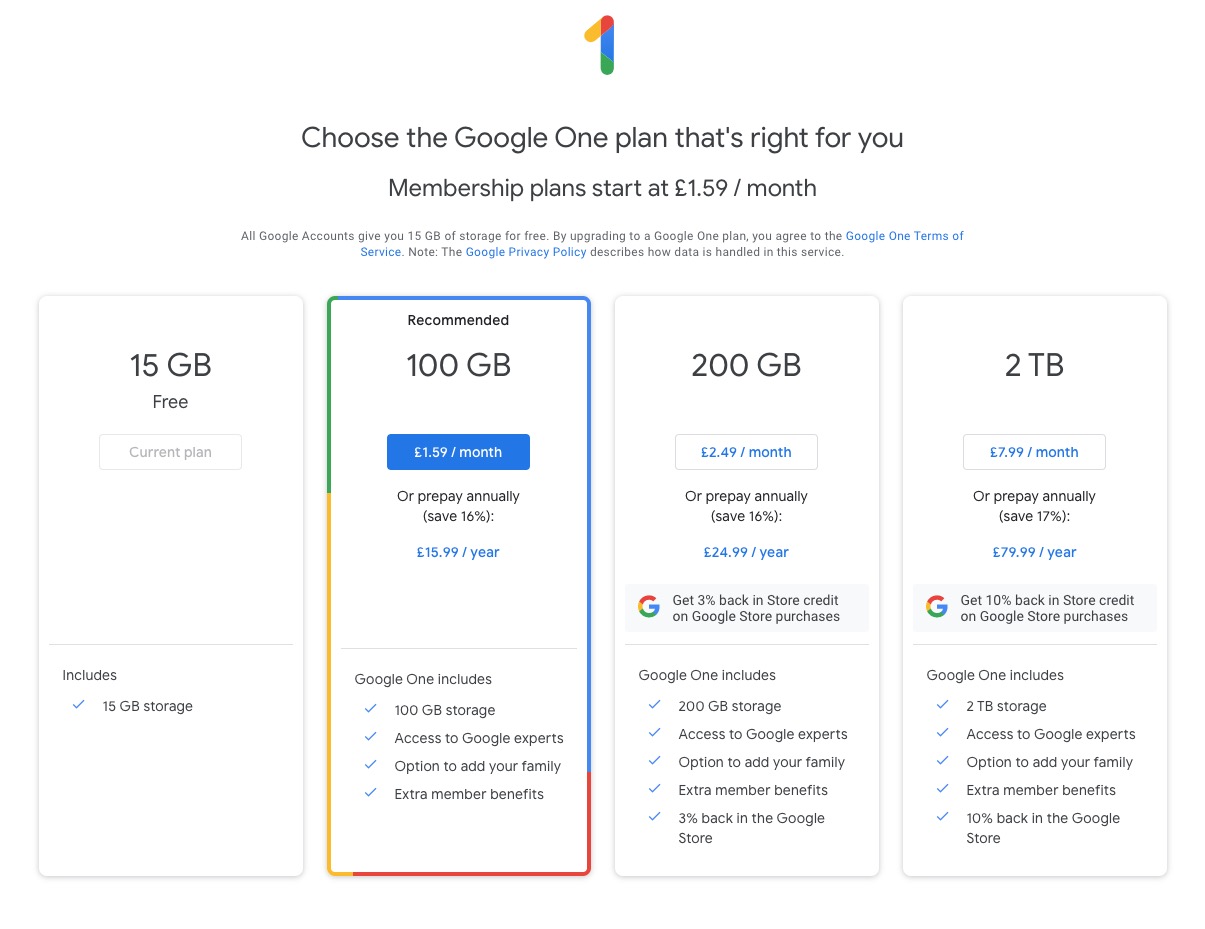
… if that hasn’t made you feel suicidal, can I just wish you the best of luck. Perhaps buying a new phone, or taking out a Google One subscription is the only answer.
Could that be the reason why it’s so complicated to delete a Photo from Google Photos?
====
You might also find these articles from Google useful. Firstly an introduction to Backup and Sync and how it works with photos and videos (hint, it doesn’t actually do any sync’ing) …
… then, a guide to help you work out what size of image/video you might want to backup and sync (or upload) to Google Photos on the web …
Choose the upload size of your photos and videos
… you perhaps need to refer to this post to see why this might be important.