A short post to highlight an issue that I wasn’t aware of, and now have to be very wary of. Indeed Ian’s comment about whether you need the Google Photos app installed on your iPhone is prescient – you most probably don’t if you’re backing-up photos to your iCloud account. And if you’re backing-up photos to a google account (as described in the earlier post), there are different ways of doing it which means you quite possibly don’t need the Google Photos app on your phone.
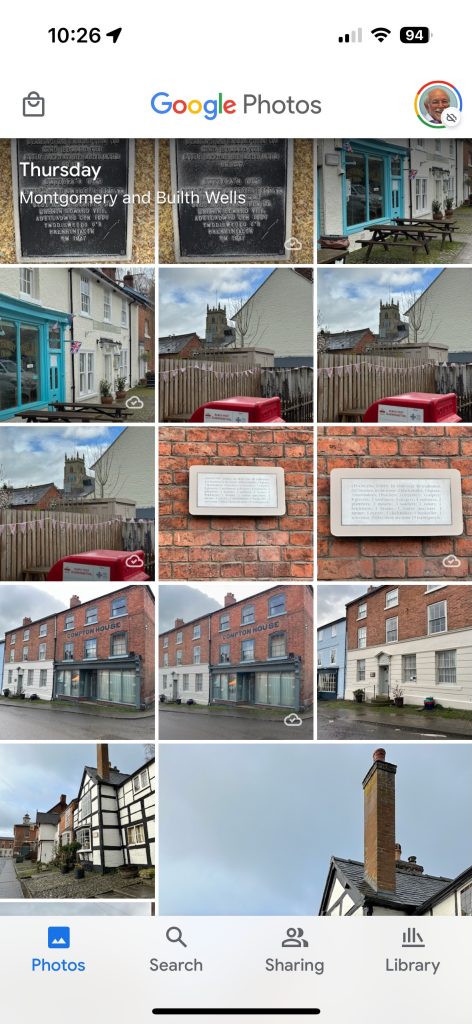
Remember, you can always look at the photos stored in the Google cloud from photos.google.com on your Apple phone or tablet – you don’t need the app installed.
So here goes … another learning point. I’ll type it in capitals so that you don’t miss it!
IF YOU DELETE PHOTOS FROM THE GOOGLE PHOTOS APP ON YOUR IPHONE OR IPAD AND IGNORE THE WARNING – THEY WILL BE DELETED FROM ICLOUD AS WELL.
There, I’ve said it. I didn’t realise it, and always shied away from deleting photos in Google Photos because I didn’t really understand what the warning meant. But now I do and obviously that’s not something I want to do, so how do I go about removing photos from the app, and/or from the Google cloud. Read on!

What I’ve researched is well summarised in the following article …
How to Delete Photos from Google Photos But Not from iCloud
and a couple of posts on the Google Photos support forum …
Does deleting photos in Google Photos also delete them from my iCloud photo Library?
Google Photos deleted my iCloud Photos library
So what do I take from this?
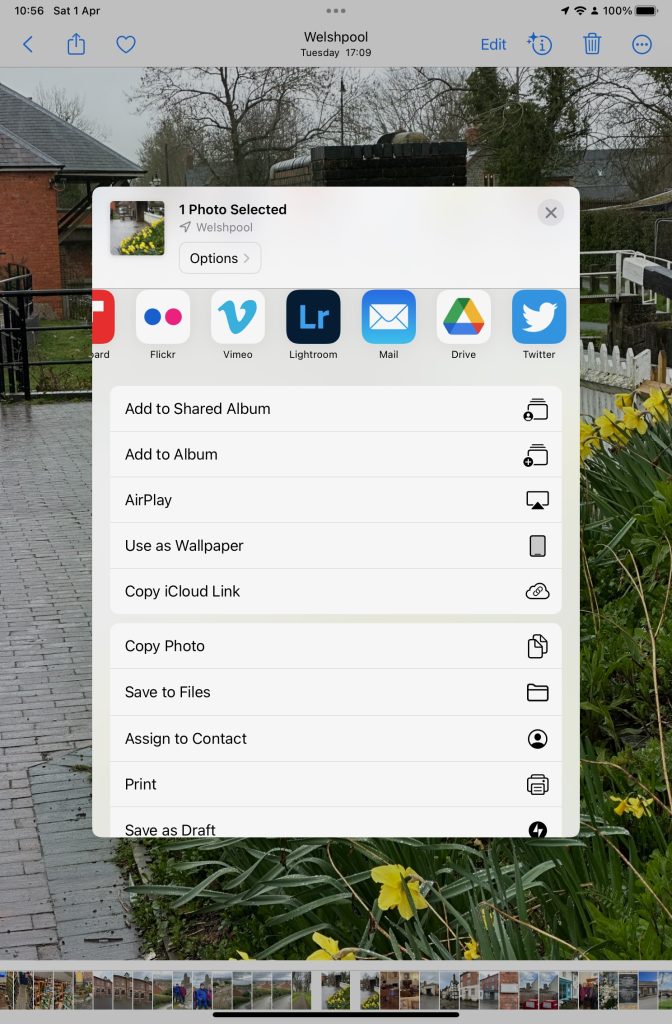
- If you want to delete photos from Google Photos – do it on the Google Photos website, not in the app on your iPhone or iPad. If you have synchronisation active, they will then be deleted from the app on your device as well.
- If you want to quickly delete all photos from your Google Photos app, just delete the app having first ensured that you’ve switched off Backup and Sync, because if you don’t, when you re-install the app, they will be synchronised back to your iPhone/iPad.
- If you don’t need the Google Photos app, uninstall the app, no photos will be deleted from your phone, they will still be in your Camera Roll and will have been stored on iCloud, nothing will be deleted from the Google Photos website either, so you will have to do that deletion from photos.google.com – see Case 1 above.
- An unlikely scenario, but one to be aware of – If you turn off iCloud before deleting photos from Google Photos on iPhone, then the photo will be removed from your device and Google Photos. It will stay on iCloud. However, if you enable iCloud again on the same phone, the photo will be removed from it too.
- And even more unlikely, but probably unexpected and a potential surprise – Disabling Backup and sync will not have any effect on your iCloud photos as it is just a setting to enable or disable backup service on Google Photos. If you disable it and then delete photos from the Google Photos app on your device, they will be removed from the device as you are technically deleting the device copy on your iPhone/iPad. And once it is deleted, the iCloud copy gets deleted automatically.
Remember. Google Photos in the cloud, and iCloud Photos do NOT work the same way. Apple aims to synchronise all images across all devices with “the master” being held in the cloud. The Google Photos app is just a portal looking into the images on the device, and synchronising (if chosen) those images with ones stored on photos.google.com.
I hope that makes it all perfectly clear 🙂 🙂 🙂
In summary, do not delete photos in Google Photos directly from your iPhone if you have both apps on the device. Use the Google Photos website to remove photos. It is suggested that you should delete a few photos initially. Then, check them in iCloud after some time. If the photos are still there, you can go ahead and delete them in bulk.